Spring Herb Pizza with Burrata

Spring Herb Pizza

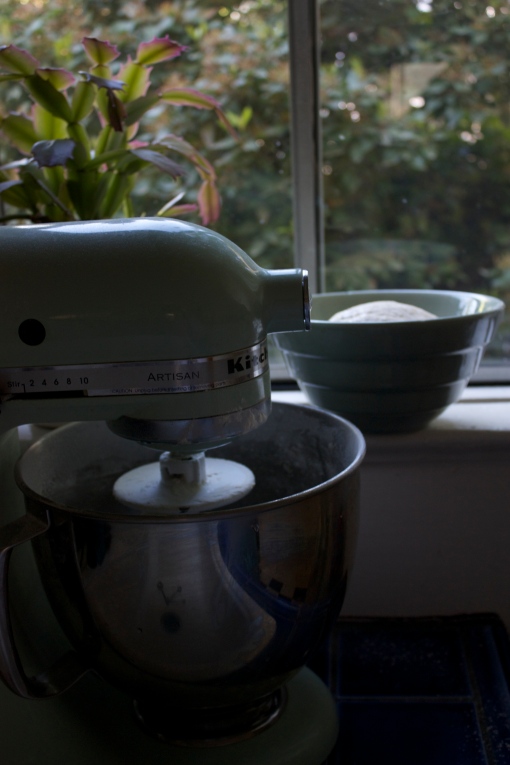
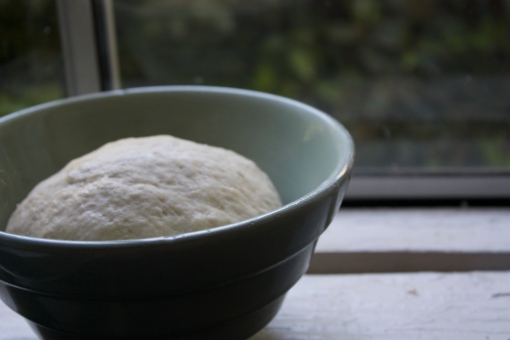
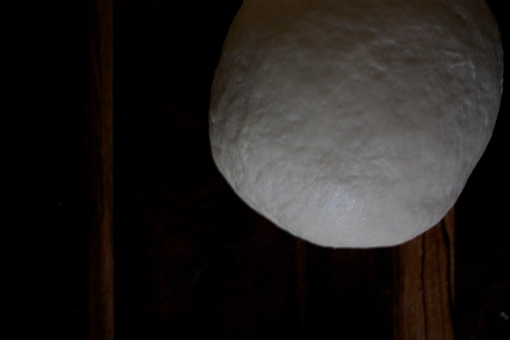
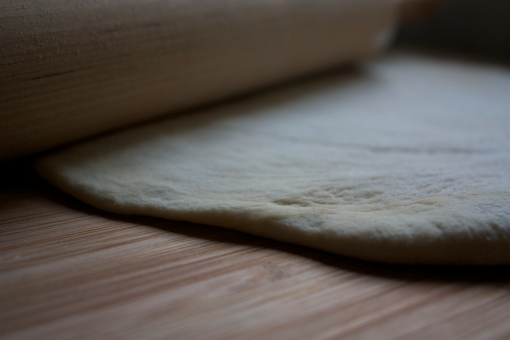
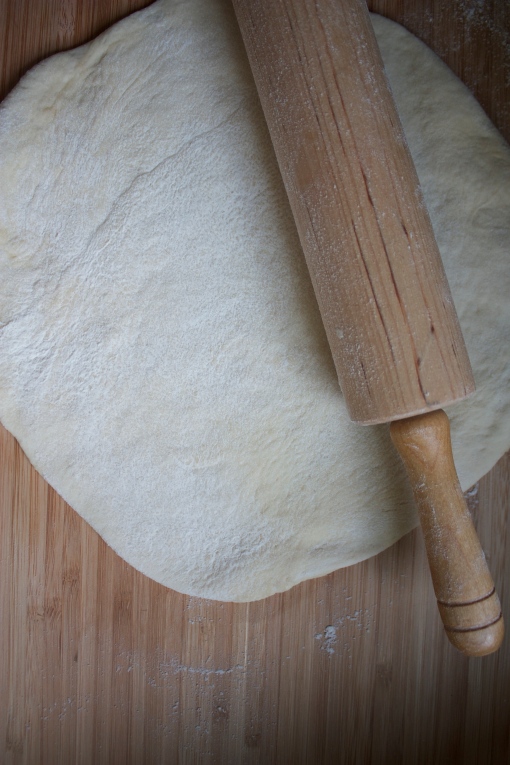
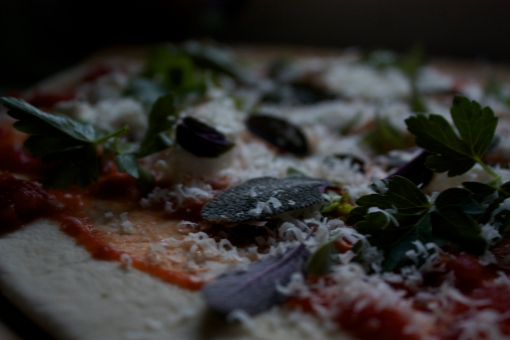
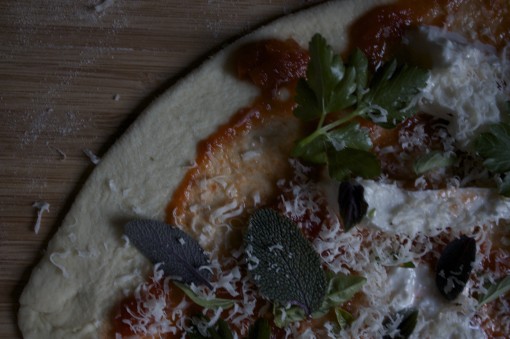
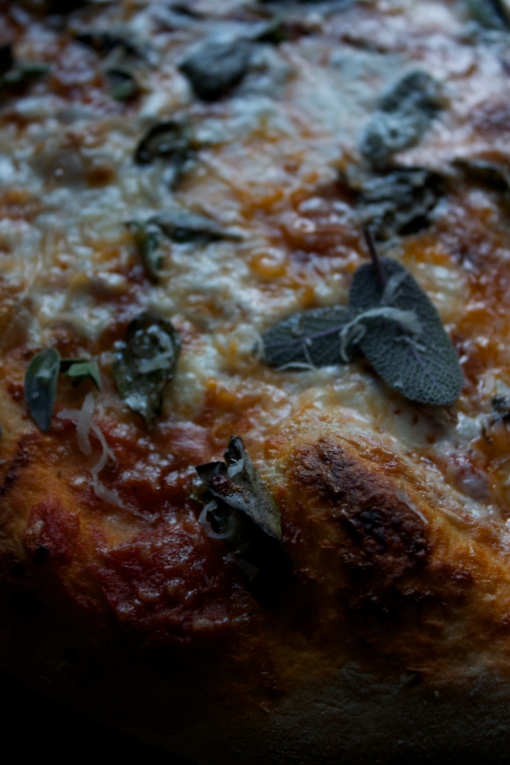
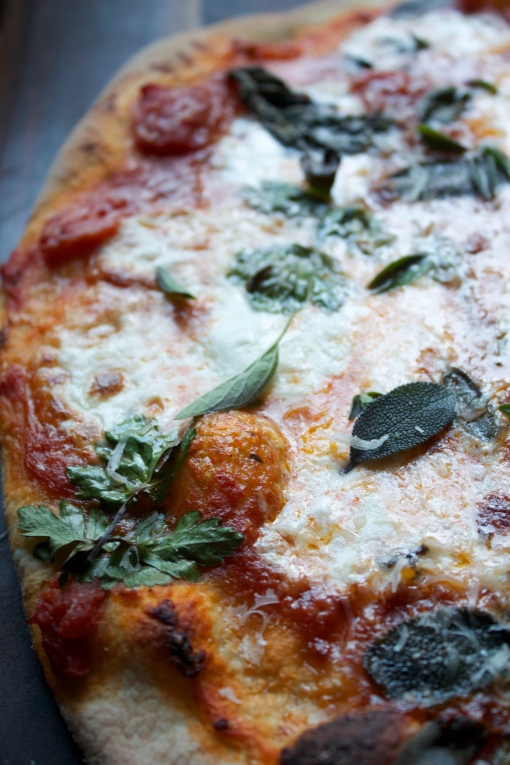
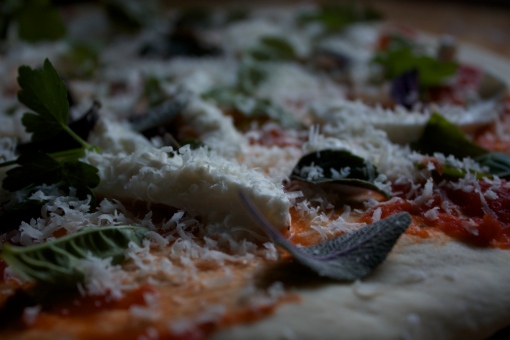
May. Always a hard month to be sure.  Long hours in the garden, tending and planting and yet nothing has quite come to fruit yet.  I look longingly at my little tomato plants, herbs and peppers as I mist them in the early mornings, begging them to grow and bear fruit and be bountiful.  I wander pensively by the fruit trees, watching the blossoms fall, critiquing each branch; is it stable, will it hold the apple, the apricot, the cherries that are yet to come?  It’s a lot of waiting, dreaming, watering and weeding; preparing for what is coming.  Sometimes I simply cannot wait though. I am impatient and I want to have a treat from my little backyard garden. I try to resist but alas, I can only be so strong.  So last Friday night I pulled out the flour, the yeast and warmed the water to the familiar temperature. I mixed and kneaded the dough and set it aside to rise. I wandered the yard as the yeast did the work, turning my head to the sun leaning into its warm embrace.  I lay on the grass and watched the sun set and the birds come to roost nearby, singing the hour by quickly.  I came in and cut the round warm dough into two, set one in the fridge for another day and started rolling out the dough. I rolled, I tossed, and I stretched it into a circle and lay it gently on cornmeal.  I pulled the penultimate jar of last year’s tomatoes from the pantry shelf, popped the top, mashed a few down with some salt and spread it on the pie. Then outside I went; scissors in hand and a smile on my face.  I snipped my little herbs, leaf buy little leaf. The purple oval of the sage, the shaggy flat parsley, the tiny oregano, the tinier thyme, the Genovese basil and the Thai basil.  I walked inside holding them in my hands like jewels and spread them on top of crimson red sauce.  Then to the fridge for some fresh burrata and parmesan to finish it off before into the oven it went and 12 minutes later: the first bite, hard work and satisfaction to be sure, went down bite after bite and in my stomach grew the excitement of what was to come.

Spring Herb Pizza Spring Herb Pizza Spring Herb Pizza

Spring Herb Pizza

Spring Herb Pizza

Spring Herb Pizza

Spring Herb Pizza Spring Herb Pizza

Pizza Dough – You will need:

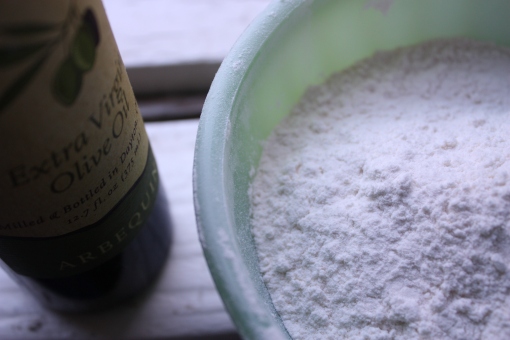
  • 3 ½ cups bread flour – plush more for kneading
  • 2 teaspoons sugar
  • 2 teaspoons salt
  • 1 ¼ cups water – at 115 – 95 degrees
  • 1 pouch active yeast
  • 2 tablespoons olive oil – plus more for rising

How to:

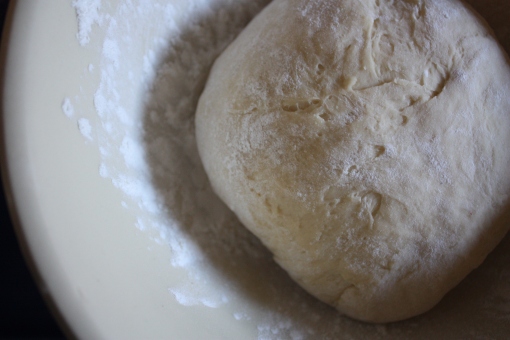
  • Mix dry ingredients together and pour in warm water slowly, until dough combines knead in kitchen aid or on floured surface for about 5 minutes
  • Place in oiled bowl in a warm place a let rise for 1 hour
  • Separate into two half’s, rub with olive oil and let sit for another 10 minutes
  • Preheat oven to 500
  • Roll out one half of dough on a floured surface
  • Throw and pull dough until it reaches about a 14-inch circle
  • Repeat with second ball or refrigerate for up to one week – freeze for 3 months
  • Add toppings of your choice or
  • Mash three canned, stewed tomatoes with salt and spread on the dough
  • Slice burrata and grate parmesan and arrange on top of sauce
  • Add clippings of herbs – oregano, thyme, basil, sage and parsley
  • Place completed pie on a pizza stone or baking sheet with a light covering of cornmeal underneath
  • Bake for 10-15 minutes until golden brown

To having patience when you need to and satisfying your cravings when you can,

Marcella Rose
Spring Herb Pizza


Summer in a Jar – Strawberry Freezer Jam

Summer in a Jar - Strawberry Freezer Jam

Let those December winds bellow ‘n blow, I’m as warm as a July tomato.

Peaches on the shelf

Potatoes in the bin

Supper’s ready, everybody come on in

Taste a little of the summer,

Taste a little of the summer,

You can taste a little of the summer my grandma’s put it all in jars.


Well, there’s a root cellar, fruit cellar down below

Watch you head now, and down you go

Maybe you’re weary an’ you don’t give a damn

I bet you never tasted her blackberry jam.

Ah, she’s got magic in her – you know what I mean

She puts the sun and rain in with her green beans.

What with the snow and the economy and ev’ry’thing,

I think I’ll jus’ stay down here and eat until spring.


When I go to see my grandma I gain a lot of weight

With her dear hands she gives me plate after plate.

She cans the pickles, sweet & dill

She cans the songs of the whippoorwill

And the morning dew and the evening moon ‘n

I really got to go see her pretty soon

‘Cause these canned goods I buy at the store

Ain’t got the summer in them anymore.


Peaches on the shelf, potatoes in the bin

Supper’s ready, everybody come on in, now

Taste a little of the summer,

Taste a little of the summer,

Taste a little of the summer,

My grandma put it all in jars.

Let those December winds bellow and blow,

I’m as warm as a July tomato.

– Canned Goods, by Greg Brown

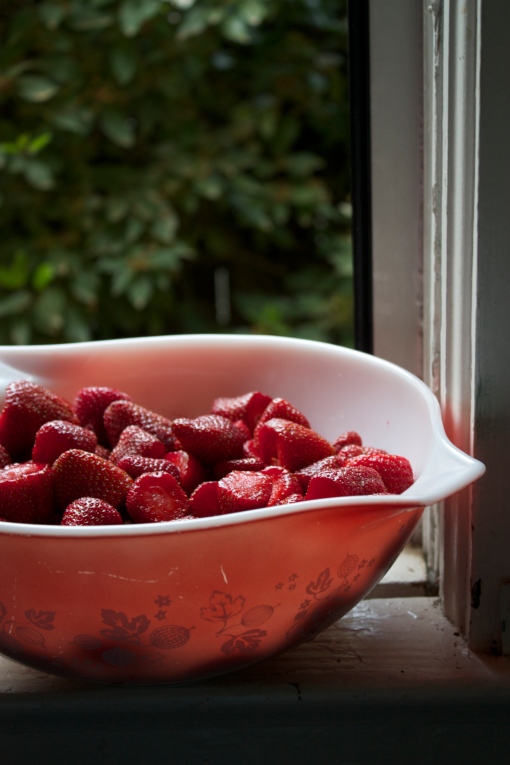
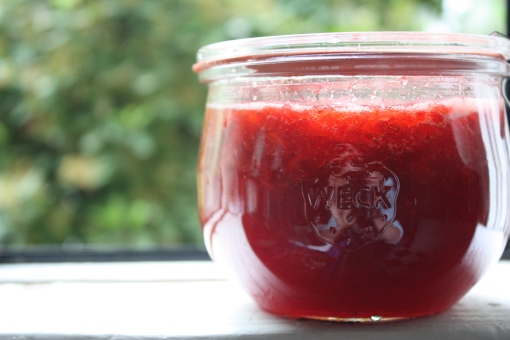
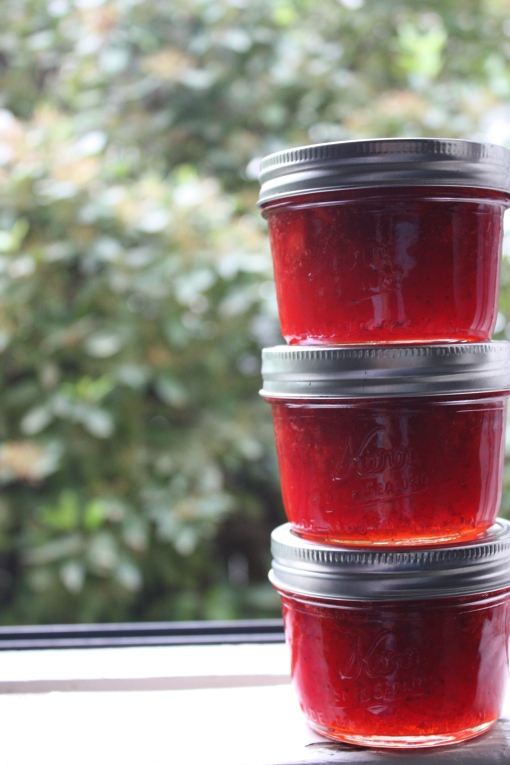
That’s right, with the summer months upon us it’s time to start canning up the magic. Now is the perfect time to be putting fresh strawberries in jars and freezing them for long cold winter nights to be slathered on fresh baked sourdough bread and eaten by the fireside with cups of warm tea. When I put in the call to my mom to see if I could use her famous and legendary Strawberry Jam recipe on the blog, she laughed as she said “Marcella Rose of course you can! It’s not mine! It’s from the box of liquid pectin!” But she, with all of her motherly wisdom, still bestowed on me the way to make it always turn out perfectly. Here are the tips: only use the ripest strawberries, only use fresh lemon, don’t mess with the sugar it’s a lot yes but you eat it sparingly like honey so don’t fret, oh and listen to Greg Brown while making it.

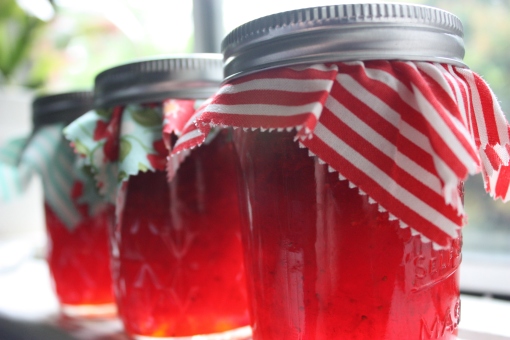
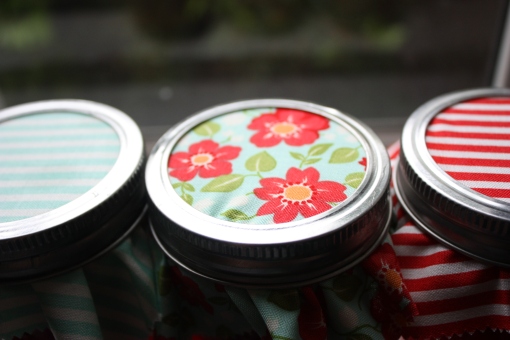
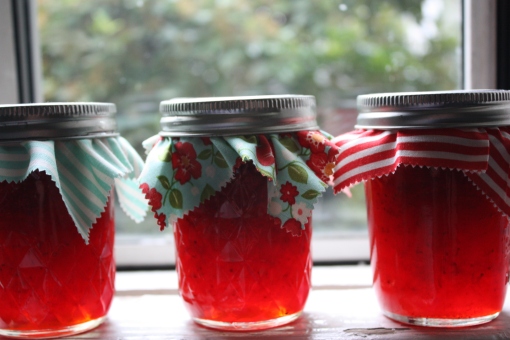
This jam is seriously the best; it captures the perfect taste of ripe strawberries because you don’t cook it into jelly. Now because of that, it needs to be stored not on a shelf but in the freezer or in the fridge. It stays beautifully pourable in the freezer too so don’t fret, at home we often take it from freezer to toaster and back and it needs no defrosting time. It’s truly the most beautiful thing I jar, jeweled; red and gleaming, “Summer in a Jar” to be sure!  Place a little piece of fabric on the lid before you screw on the jar ring and what a perfectly perfect hostess gift for all those summer parties and BBQs.

Summer in a Jar - Strawberry Freezer Jam Summer in a Jar - Strawberry Freezer Jampink vintage bowls make the world a better place Summer in a Jar - Strawberry Freezer Jam Summer in a Jar - Strawberry Freezer Jam Summer in a Jar - Strawberry Freezer JamSummer in a Jar - Strawberry Freezer JamSummer in a Jar - Strawberry Freezer Jam

Summer in a Jar - Strawberry Freezer Jam

Sure-Jell Certo Recipe

Makes about 4 cups Jam

You will need:

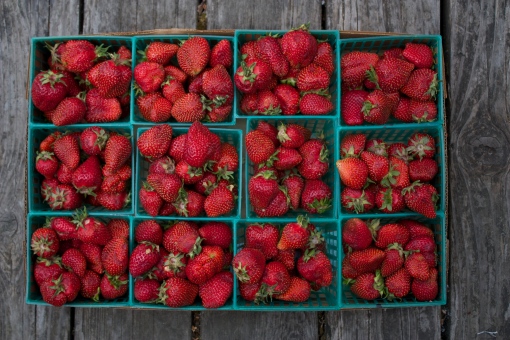
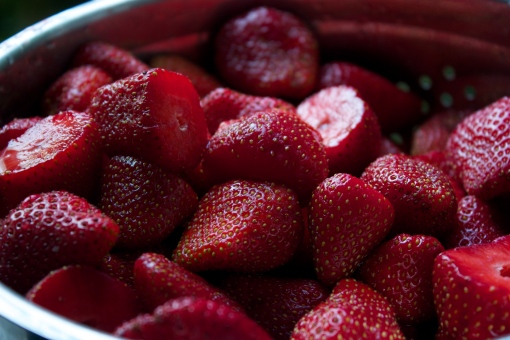
  • 2 pints strawberries, washed stems discarded and crushed
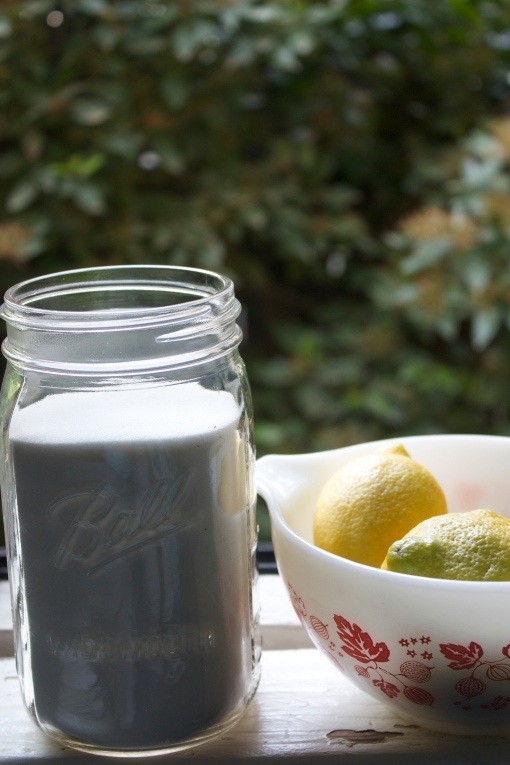
  • Juice of one lemon
  • 4 cups sugar
  • 1 pouch Certo
  • Sanitized and washed jars and lids – get fresh tops

How to:

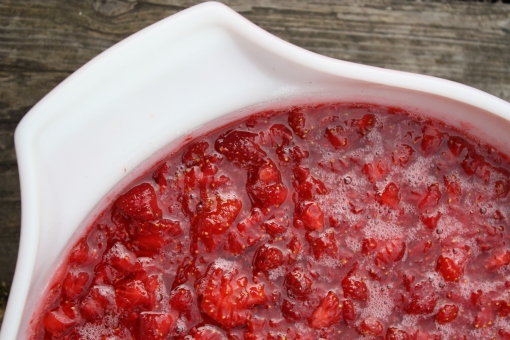
  • Crush strawberries with a potato masher, leaving some fruit chucks
  • Spoon in 2 cups of strawberries to a bowl with 4 cups sugar
  • *Note: reducing sugar will yield no jam, (don’t jam up the process, use the sugar)
  • Allow sugar and strawberries to sit for 10 minutes, stirring occasionally
  • Then stir pectin and lemon together and add to fruit and sugar mixture
  • Mix constantly for 3 minutes or until the sugar has dissolved
  • Pour into prepared jars allowing a ½ inch of space at the top
  • Allow to sit at room temperature for 24 hours
  • Then refrigerate for up to 3 weeks or freeze for up to a year


It’s jammer time!

Marcella Rose

Summer in a Jar - Strawberry Freezer Jam

Challah

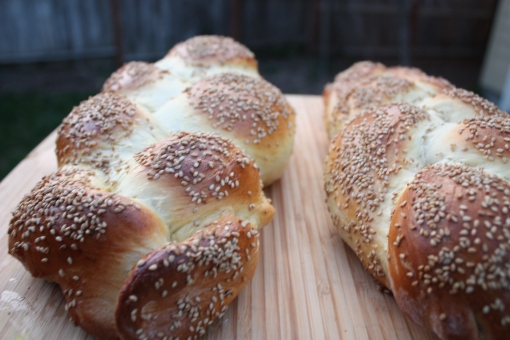
Fresh Hot Delicious Challah

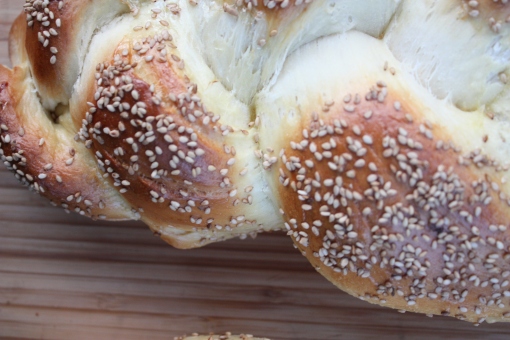
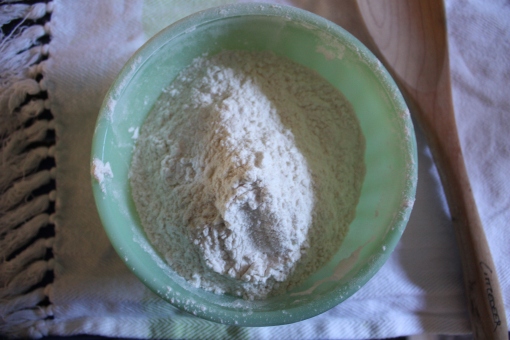
There is a magic to fresh bread.  There is something eternally warm and welcoming about its taste, the mouth feel and oh the smell.  It is the smell of pure bliss and utter hospitality.  I used to work on a ranch in the summers cooking three square meals a day for hungry cowboys and ranch hands as well as teaching manners to the little cowboys that ran around in the fields all summer, free as woodland elves.  It was there in the starkly beautiful wild country of Nevada, among the sage and the pine… and the cows, where I really learned to cook.   Yes, my culinary birth was one by flame and long hot summers of trial and error; errors that the hungry crew were either kind enough not to mention or too hungry to care.  My mom of course had taught me all the basics and she was set on my mental speed dial, on the old tethered rotary phone by the ranch kitchen, where I would sometimes need to make very expensive long distance phone calls mid-meal, sending out an SOS to her landline where she always picked up and trouble-shot the lumpy gravy or the burnt tomato sauce (note; start fresh with the gravy if you can, always adding in hot liquid to the cornstarch or flour and mixing until smooth before pouring in. Unless you have an emulsifier then use that and poof creamy gravy, also don’t scrape the burnt sauce in the pan just carefully ladle the top ¾ of the sauce into a new pan that has a heavier bottom for long hours of simmering on the stove).  Of course those calls were only made when the head chef had left little me in charge, otherwise Susan (the ranch wife) in all of her glory and wisdom was there by my side.  Helping me knead, teaching me about sourdough starters, showing me the ways and enchantment of a well stocked pantry.   We made bread daily and it was the best part of each day for me.  Waking up with the sun, pulling on the apron, cotton strings wrapped around twice to tie in front, the flour catching wind as cup by glorious cup full is scooped into thick potted bowls.  Breathing new life into the yeast with warm water and a watchful eye, drops of thick olive oil and the slap of dough on wooden tables, then a silhouette in the warm window, a flour cloth covered bowl back lit by the morning sun and a moment of pause until we knead once again then wait once more.   Then it’s thrown and shaped, long brush strokes of whisked egg, a knife dragged across the top and into the vintage Wedgewood where it warms and darkens, the wonder of bread is complete.

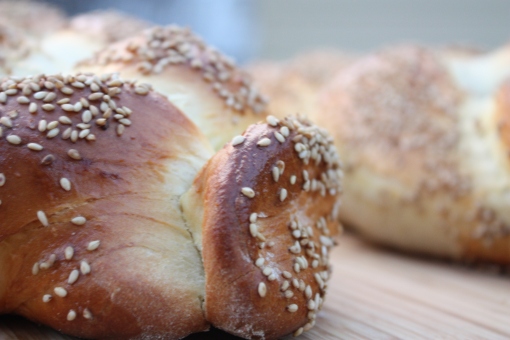
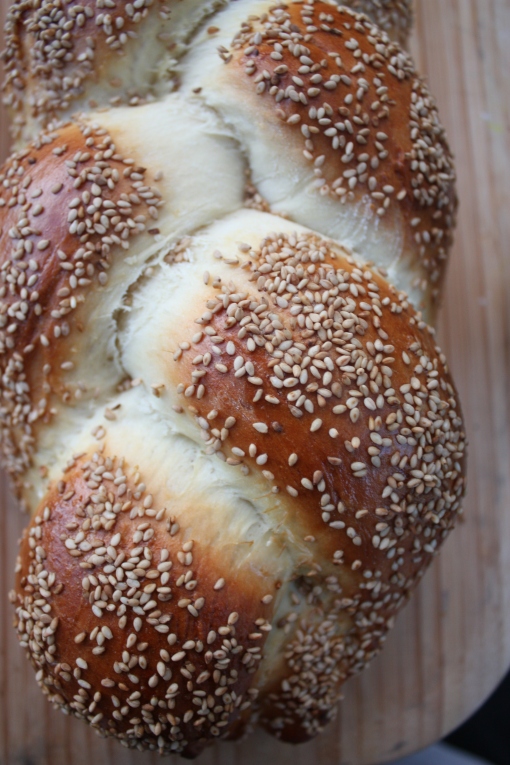
I don’t make bread every day anymore but the rhythm of the process is always there, waiting quietly to be put to work.  So I want to share one of the easiest bread recipes with you my readers: Challah.  This bread is eggy and full of loft, it’s wonderful to sop up soup or sauces with and with a slight sweetness even better with honey and butter slathered on top.  It really shines, dipped in eggs, milk, and cinnamon then grilled into the most perfectly perfect French toast.

Fresh Hot Delicious Challah

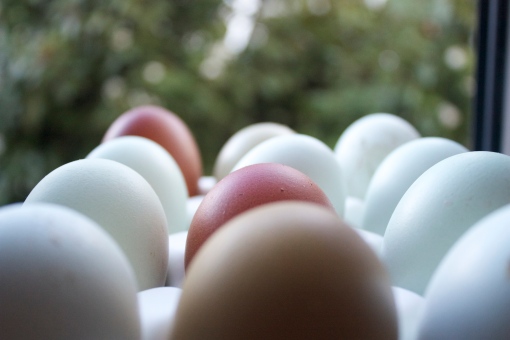
Farm Fresh Eggs

Fresh Hot Delicious Challah

Fresh Hot Delicious Challah

Fresh Hot Delicious Challah

Fresh Hot Delicious Challah
Fresh Hot Delicious Challah Fresh Hot Delicious Challah

You will need

  • 11 ozs or 320 grams* water
  • ¾ cup or 85 grams Turbinado** Sugar
  • 1.5 Tablespoons dry yeast
  • 3 ½ cups or 800 grams flour
  • 3 eggs
  • 1 Tablespoon good flakey salt
  • ½ cup or 60 grams oil

*When baking it is best to measure with a scale if you own one, if not I have included the conversion for you

** Simple recipes like this with only a few items demand quality, so use fresh pastured eggs, fine olive oil, raw sugar and the best salt you can find.

How to:

  • Warm the water to 95-115 degrees and stir in the sugar
  • Pour yeast in, let sit for a few moments for the yeast to bloom
  • Pour mixture into a kitchen-aid with a hook attachment and add flour, salt and oil
  • Lightly beat eggs and add into mixture
  • Mix low incorporating for about 4 minutes then increase speed for 4 more minutes
  • (If you do not own a KitchenAid, get one! But until then, stir in bowl until too hard to handle then kneed for at least 8 minutes)
  • Take dough (it will be moist) and kneed on a lightly floured surface for a minute forming a ball
  • Then place dough ball into a lightly oiled bowl
  • Cover with a warm moist towel
  • Let rise until doubled in volume; about 45 minutes
  • Then divide dough in half and each half into thirds
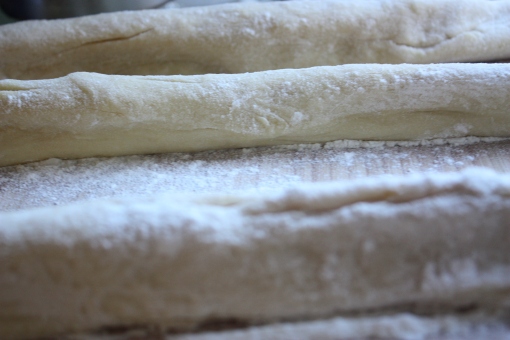
  • With your hands gently roll and stretch each third into a long log
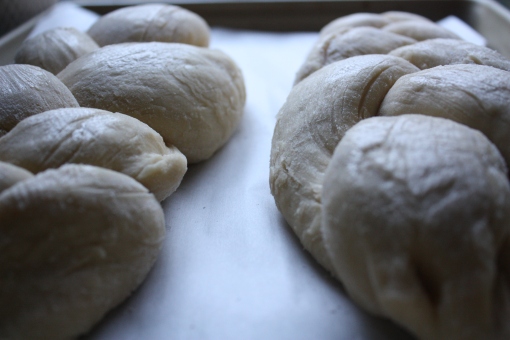
  • Gather the tops of three of your logs and pinch together then braid until you reached the ends and pinch together
  • Repeat with the other three logs of dough
  • Place both loaves on a parchment lined backing sheet cover with warm moist towel and let rise once again – about 45 minutes
  • Preheat oven to 400
  • You know dough is ready with you pinch it with your finger and it instantly bounces back!
  • Brush with egg mixture and sprinkle with your choice of topping and bake for 10 minutes, lower the oven to 350 and bake until golden and beautiful about 8 more minutes.
  • Slice, eat, enjoy!

To all the Challah back girls and goys,

Marcella Rose

Fresh Hot Delicious Challah


Dandelion Seed Necklace – a wish in a jar

Dandelion Seed Necklace – a wish in a jar

I have been thinking about my mother a lot recently.  Yes, mother’s day is coming (it’s on May 10th FYI) but it’s not the holiday per say, that is making me contemplative.  It is simply that my mom is amazing.  My thoughts lean toward her each passing day of my adulthood and I think of her more and more.  I appreciate her more and more and yes, even love her more and more.  My parents always told me growing up that you don’t get to choose who your family is.  This is a very true, sometimes harsh reality for a majority of the population.  For someone with no choice in the matter at all, I certainly lucked out.  My mom was able to stay at home with us as we grew up; one of the greatest treasures, biggest sacrifices and most lavish gifts I will ever receive is that every day, my mom was there.  She woke us up every morning and was there when we came home from school every afternoon.  She didn’t do everything for us. Oh no, she helped us learn how to be self-sufficient, taught us to cook, to do laundry, to be respectful, to sew, and to generally be productive little people and no, not for an allowance.  We did these things under her guidance not for money, but because we were a part of a whole; a member of the household, these were our responsibilities.  She taught me that each day I can make the world a better place by participating and taking pride in what I do.

While she made us into little, accountable people who grew up to be capable adults, she also indulged our fantasies.  We could always use the couch as a fort; I mean what else is a couch for?!  Of course we could use the National Geographic Magazines as stones during an epic hot lava game; what else would work better?  She even dug a 5 foot deep by 6 foot wide hole in the tough Nevada dirt and covered it with wooden beams for my brother to have a fortress.  All boys need a hideout after all.  She would make us high tea when the weather turned nice… we would walk home from school to find her out in her luscious garden surrounded by quaking aspen, her long chestnut curls in a loose ponytail, table covered with a floral cloth; tea and cakes and scones all set out.  She would call to us asking if we would join her and under the shade of the trees with the smell of blossoming flowers on the wind, she would ask about our day as she poured tea.  She would listen, really listen, as her motherly hands lumped sugar and poured cream into each little tea cup with care and once we were done sharing, she would tell us stories.  Sometimes she would reach down and snap off the stem of a dandelion.  She would hold it up to our little faces and say, “close your eyes, make a wish, and blow.” It’s something her grandmother always did and this time of year, when the little seeded fluffs start to sprout up in my lawn, I look at them and smile. Then with a deft hand, snap the stem, bring it to my face and hear my mom whisper, “make a wish,” and I wish that I will be the kind of mother my mom is one day, and I close my eyes and blow.

Dandelion Seed Necklace – a wish in a jar
Dandelion Seed Necklace - wish in a jar
Dandelion Seed Necklace – a wish in a jar Dandelion Seed Necklace – a wish in a jar Dandelion Seed Necklace – a wish in a jar Dandelion Seed Necklace – a wish in a jar Dandelion Seed Necklace – a wish in a jar
Dandelion Seed Necklace – a wish in a jar

Dandelion Seed Necklace – a wish in a jar

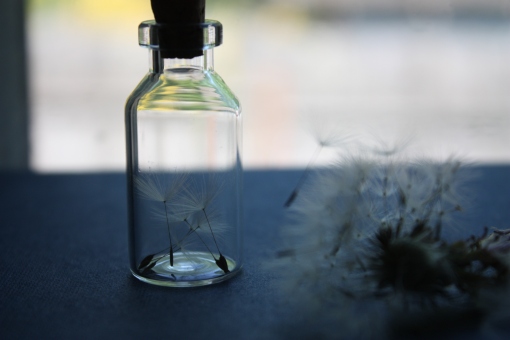
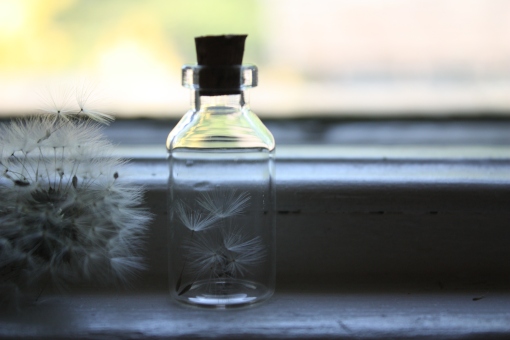
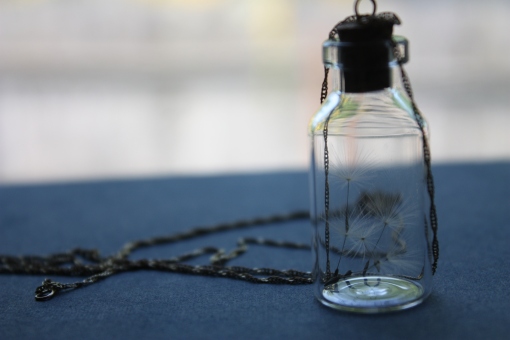
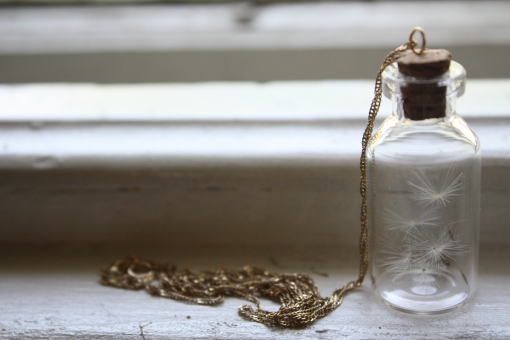
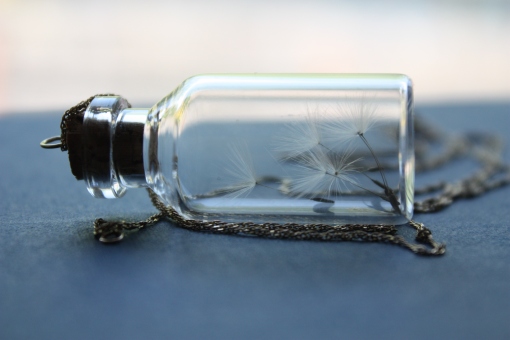
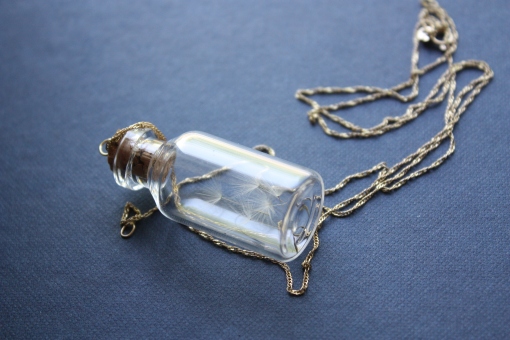
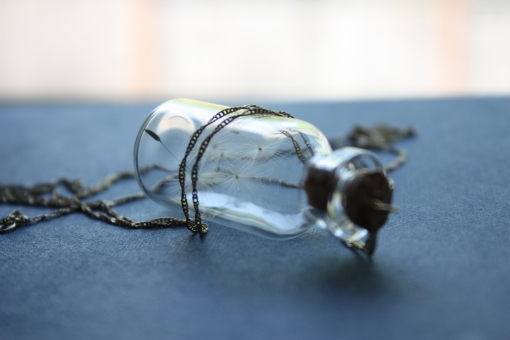
Here is a little craft to make with those beautiful dandelions, a wish-in-a-jar necklace. A perfect gift for this mother’s day or for anyone out there that could use a wish or two.

You will need

  • Little cork-topped vials, I got mine on amazon.com
  • Thin jewelry wire
  • Necklace Chain
  • Dandelion seeds

How To:

  • Pull off the seeds from the dandelion and place in vials, using tweezers if you need to
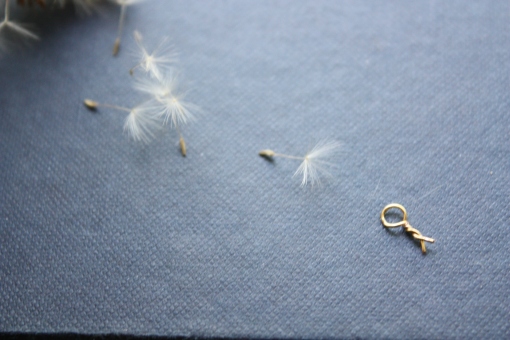
  • Take jewelry wire and shape into a loop twisting the two ends together, trim short
  • Push the twisted ends of the jewelry wire into the cork top leaving just the loop showing
  • Thread your necklace chain through the loop
  • Push your cork back into the vial

To wishes,

Marcella Rose Dandelion Seed Necklace – a wish in a jar


Egg White Cocktail – with Wild Root Oregon Marionberry Infused Vodka

Egg White Cocktail

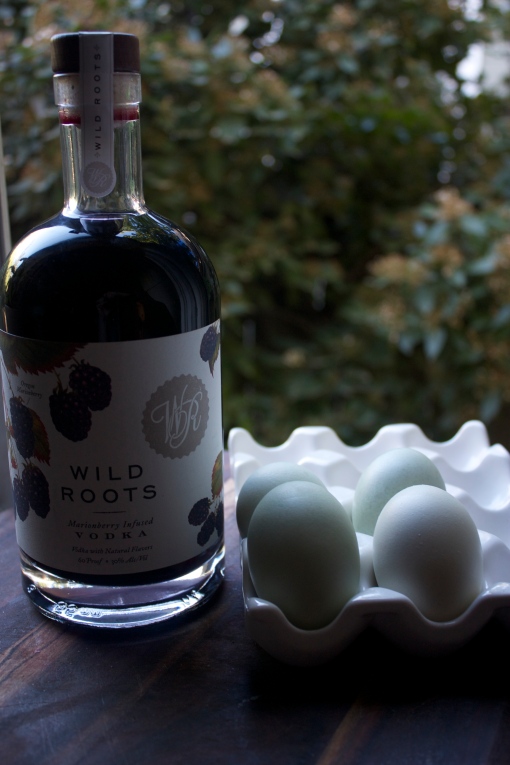
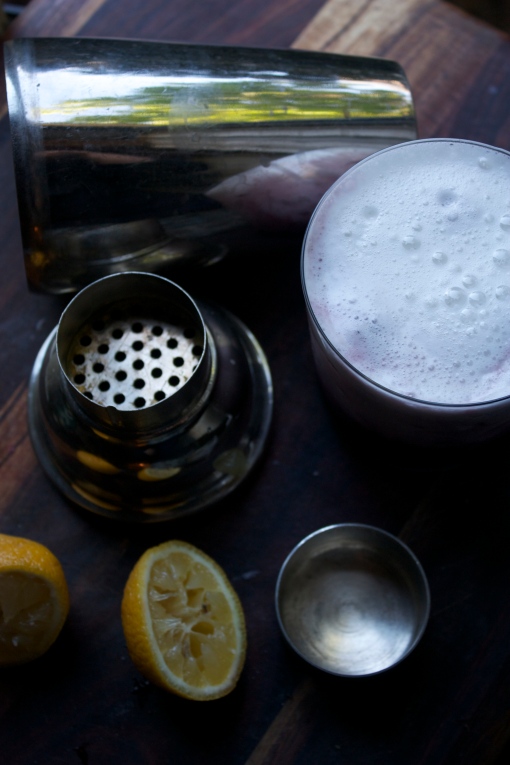
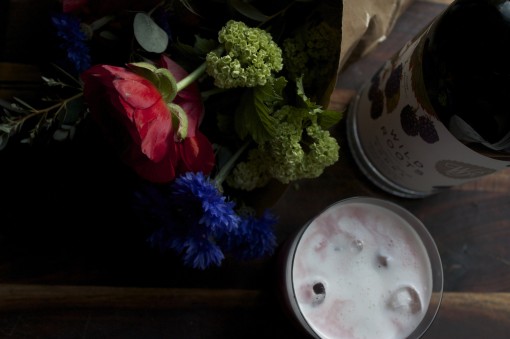
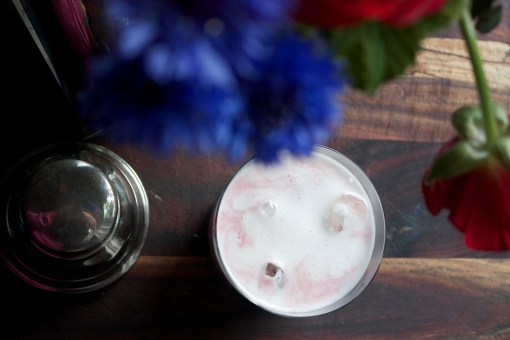
I am obsessed with eggs. No, not for breakfast, in my cocktail! It is as old as the invention of the cocktail itself; you’re shocked aren’t you? I mean, when is the last time you had eggs in a cocktail? The Holidays maybe, in a carton probably, store bought eggnog? Or perhaps you ordered a Pisco Sour on your last trip to Peru or at the quaint little Peruvian place. Yes, that delicious foam on top, that’s egg whites. Well if this is the extent of your experience of using egg in a cocktail, then you my dear readers, have been seriously missing out. Of course, it’s not your fault bar tenders aren’t just cracking open eggs and shaking them into cocktails any more. Once staples, the flips, fizzes, and pickups could have been ordered in any bar. Sadly in 2015 the Pink Lady (the Cosmo of the 40s) is just a distant memory. But hey, you wouldn’t be here if you didn’t want to try one right? It’s so easy and once you take the first sip of a velvety, frothy egg white, floating like a cloud on top of your drink, you will be shaking them up every night. It’s so easy to just crack an egg and throw it in a shaker with some lemon and a bit of sugar. Shake vigorously, salivating as you wait the minute it takes to whip up an egg in a shaker – side note: this is an excellent work out for the upper arms. Once the egg is frothy, pour over ice and liquor and there you have it, heaven in a glass. Google “classic egg white cocktails” and you will see them in all of their splendor. You can read about the safety of using eggs and egg whites (lemon juice neutralizes, liquor kills bacteria if there is any) or you can buy pasteurized egg whites in a carton or egg white powder. Here at Marcella Rose’s, I want to share my new favorite egg white cocktail. It’s not a classic, but leaping lizards it is so marvelous. If you have been a reader of mine for a while, you know my love for Oregon and all of its bounty. Well, someone in Hillsboro Oregon is making fine fruit infused vodka and it’s changing my life. With over a pound of fresh berries farmed from local Oregon farmers in each divinely labeled bottle, the Wild Roots Oregon Marionberry Vodka is otherworldly. It’s luscious and tart and sweet and frankly, tastes good sipping or with soda water. But, pour it with egg whites and the viscosity and froth takes it straight to dreamland. So the next time you want to grandstand your boring Tuesday evening, dig into the fridge and pull out some hen-fruit and mix up this cocktail. It is sure to flip your wig!

*Archaic slang brought to this blog straight out of the 40s.

Wild Root Marionberry Vodka Egg White Cocktail Egg White Cocktail Egg White Cocktail Wild Root Marionberry Vodka

IMG_7578

How to

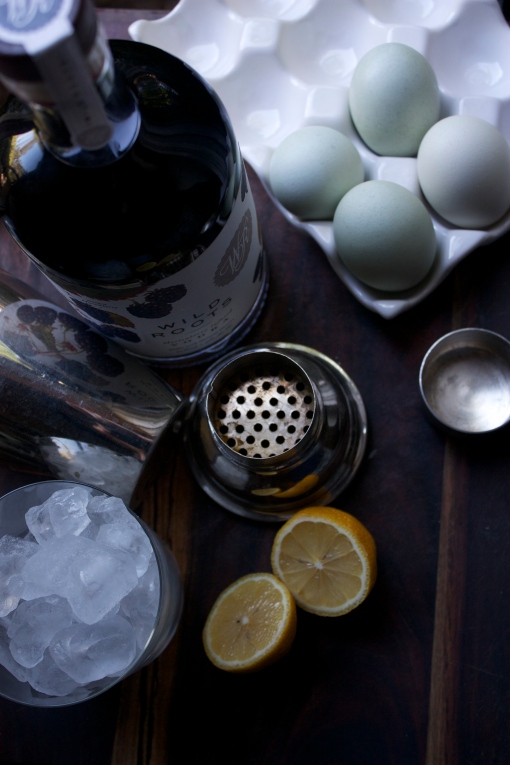
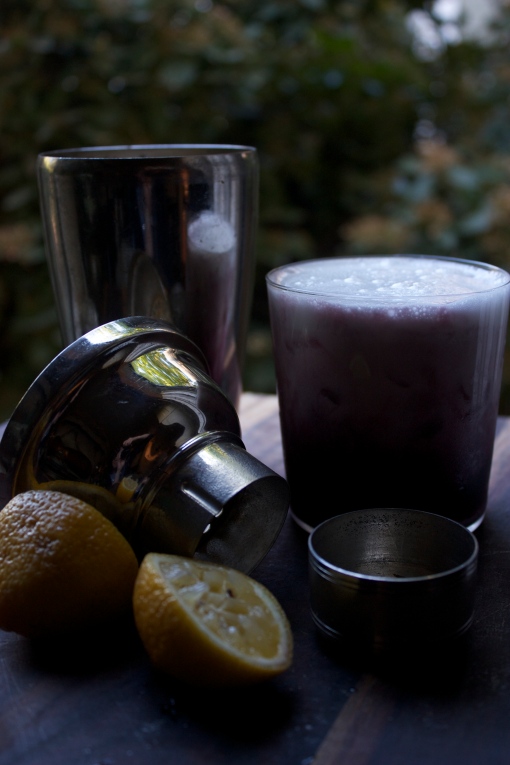
Place the following in a shaker and shake, shake, shake it up for one minute until frothy and white

  • One egg white
  • One teaspoon sugar
  • The juice of one lemon

Pour 1.5 ounces of your favorite flavored vodka over ice, then pour your egg mixture on top, sip and enjoy.

To protein with your cocktail,

Marcella Rose
Egg White Cocktail

Niçoise Salad with Fiddlehead Ferns

Nisoise Salad with Fiddlehead Ferns

When I lived in Manhattan I worked right across from PJ Clarkes. It’s an iconic restaurant with a history that includes being one of the oldest bars in the city, surviving prohibition and two world wars, where you might have seen Johnny Mercer penning the tune “One for My Baby” on his napkin while sipping a cocktail at the bar, or looked up to see Buddy Holly get down on one knee to propose to his wife, or overhear Nat King Cole claim that PJ’s burger was the “Cadillac of burgers!”  You could catch a glimpse of Frank Sinatra at table #20 after singing on the town and Jackie O when she brought her children for Saturday luncheon dates.  Today you can see the restaurant on Madmen or the French Connection, visit ballplayer Phil Kennedy’s ashes that reside behind the bar or just stop in for a famous burger.  PJ Clarkes is the “Vatican of Saloons,” or so says the New York Times.  But you wouldn’t find me in the bar or at table 20, I was around the corner through an almost hidden door that you had to be buzzed in to access at Sidecar. See, PJ Clarke’s had upstairs neighbors the Lavezzo’s.  They were lovers of old things and dealt in restoring and selling antiques.  When PJ passed, the Clarke family sold the business to them and in 2003 when the newest owners purchased and remodeled the building they opened up the former living quarters of the Lavezzo’s to diners in the know.

Sidecar is full of dark, stained wood and floor to ceiling windows that let the New York City light pour in. It’s a classic and I love it. Here is where I would sit and have oysters after a long day at the office, where I took every out of town visitor for dinner or cocktails, where I would often grab a to-go order lunch for my boss (even though they don’t do to-go orders), where big moments happened, like when I rushed to meet my best girlfriend Heather the day she knew she would have to move back to London and we cried over a bottle of Sauvignon Blanc, and where my then boyfriend now husband and his best friend Jenn and I would snuggle into a booth and fill ourselves with some of the best steak in the world to celebrate his birthday each year.  It was my haunt if I ever had one in the City; a place where they knew my name and I was one of the regulars.

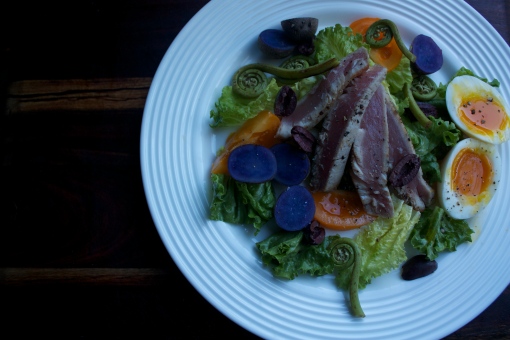
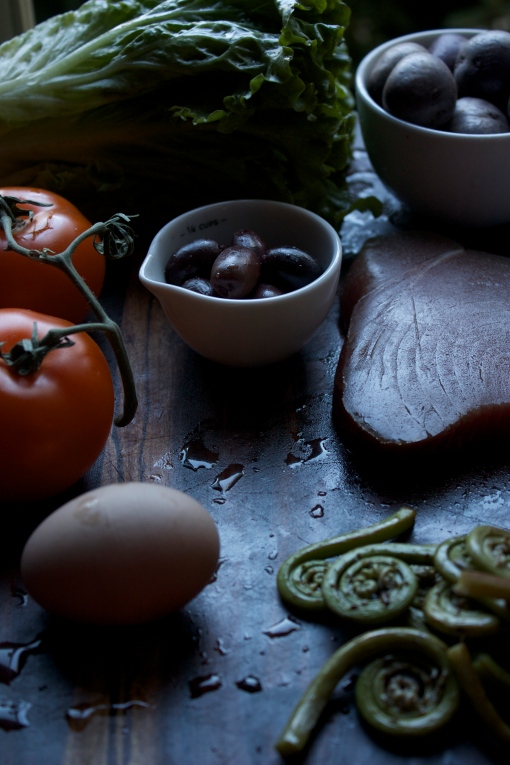
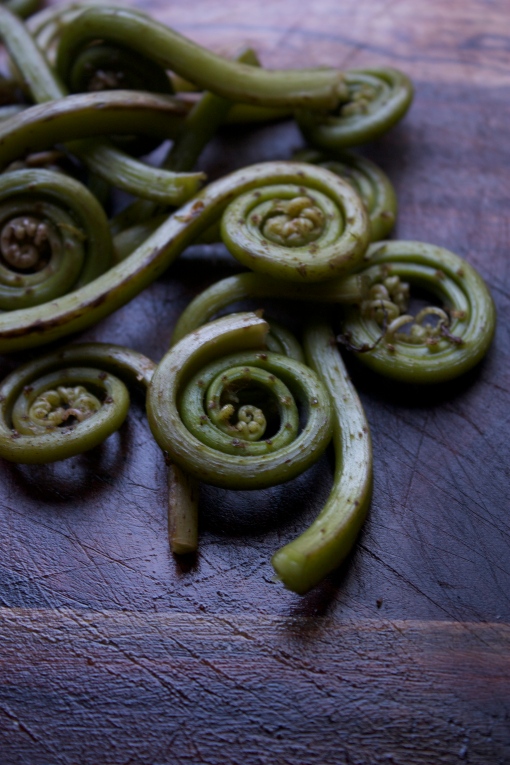
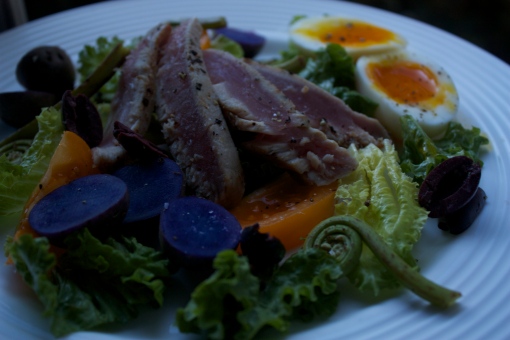
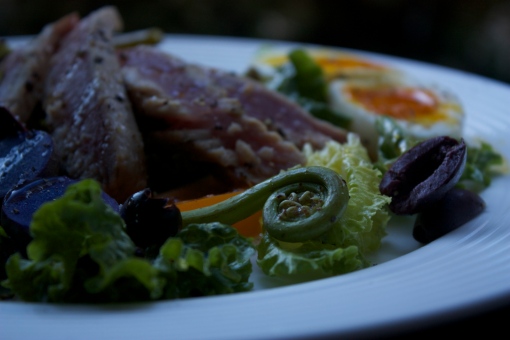
Now, they did steak and they did burgers and shucked some of the best oysters around but their Niçoise salad was to die for.  It has these huge slices of seared, sushi-grade ahi and dressing that took you right to heaven.  I miss the city and Sidecar, so in an act of pure nostalgia, I am sharing my version of this salad today but with a Marcella Rose twist.  Traditionally this French dinner staple has green beans blanched to perfection, alongside canned tuna, Niçoise olives, tomatoes and potatoes.  But it’s spring and with the beautiful weather come the fiddlehead ferns.  These fantastic and gorgeous plants are full of flavor. Some people describe them as bean-like, or asparagus-like, I say they taste like artichokes but milder.  I am substituting the traditional green beans with these magnificent little florae.  Not only do they give this salad a punch right in the palate but they make any plate look spectacular.
Nisoise Salad with Fiddlehead Ferns

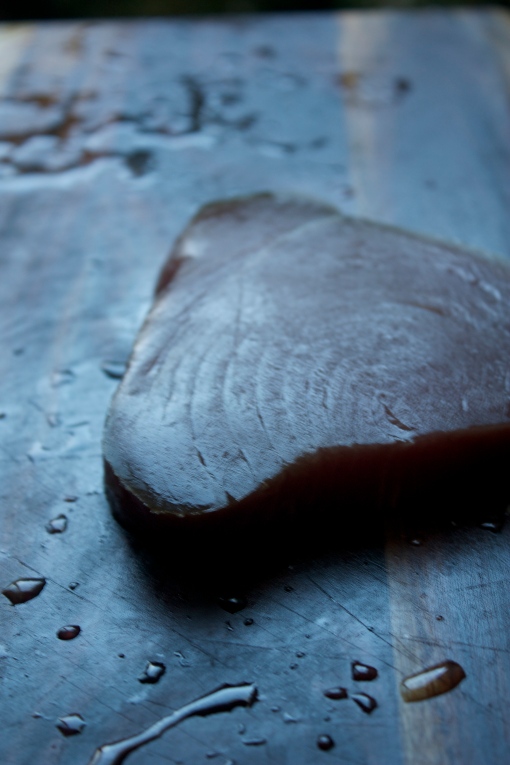
Orange Tomatoes IMG_7466 Fiddlehead Ferns Tuna Steak - Sushi Grade Nisoise Salad with Fiddlehead Ferns

Niçoise Salad

  • Tuna Steak
  • Head of Romaine letters – Chopped
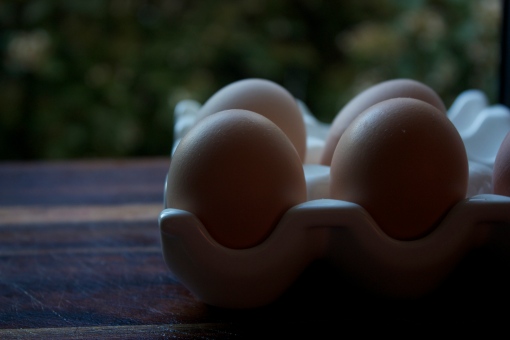
  • Medium boiled egg per person
  • Fiddlehead ferns or sub green beans
  • Purple baby potatoes – or sub red
  • Niçoise olives – sliced long way
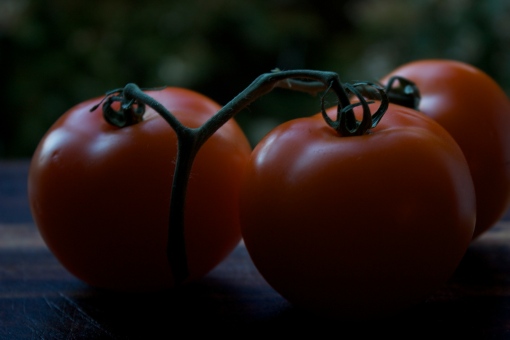
  • Tomato – sliced into wedges
  • Salt and Pepper to taste
  • Olive oil
  • French dressing – recipe and instructions below

How To

  • In a small pan bring cold water and eggs to boil
    • for an almost runny egg, for 5 minutes then drop in ice bath to stop cooking
  • Peel egg and slice in half
  • Bring potatoes to boil in salted water and cook until slightly soft, about 5 minutes then cool in an ice bath and cut across
  • In a large pot of boiling, salted water, blanch the fiddlehead ferns until crisp but tender; about 4 minutes. Remove from boiling water and instantly shock in an ice bath – do the same with green beans if subbing
  • Salt and Pepper tuna steak, warm pan on high heat and coat with olive oil. When pan is hot, add tuna and sear each side for 1-2 minutes depending on thickness; slice
  • Arrange all ingredients on a plate, drizzle with French dressing and enjoy.

French Dressing

  • 1 tablespoon chopped shallots
  • 2 tablespoon white wine vinegar
  • Salt and Pepper to taste
  • 2 Teaspoons Dijon mustard
  • 3 Tablespoons Olive Oil
  • Mix all together by whisking or shaking in a jar

Nisoise Salad with Fiddlehead Ferns

To Nice and niceties and Niçoise,

Marcella Rose

Gift Card Giveaway!

CLICK HERE TO ENTER!

my-cooking-spot-target-giveaway

A huge thanks to the fabulous My Cooking Spot contributors who made this possible!

my-cooking-spot-contributors

Marcella of Marcella Roses | Erica of The Crumby Cupcake | Erin of Speckled Palate
Susannah of Feast + West | Jenna of A Savory Feast | Alli of An Alli Event
Bex of Butchers Niche | Madison of Wetherills Say I Do | Erin of My Cooking Spot

Giveaway runs from 4/16-4/24. All entries will be verified! Good luck!

a Rafflecopter giveaway

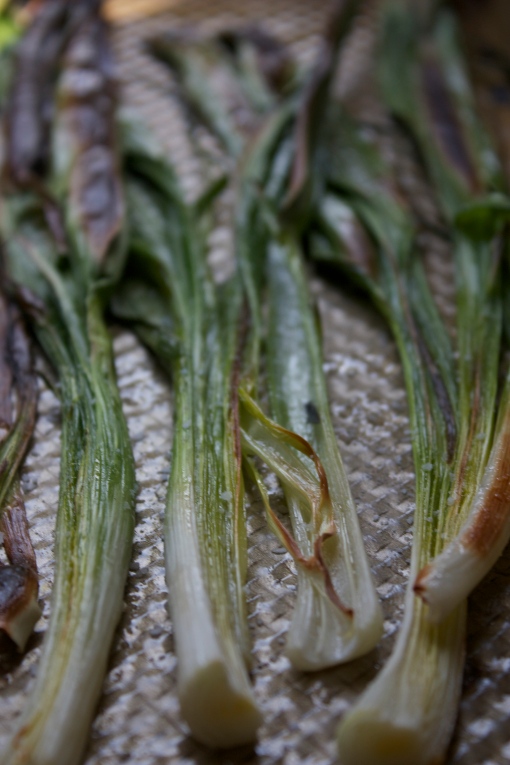
Green Garlic

Green Garlic - Roasted

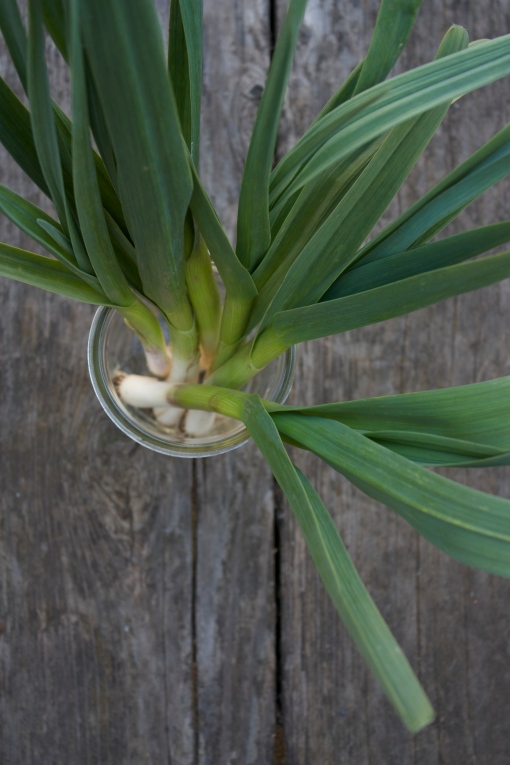
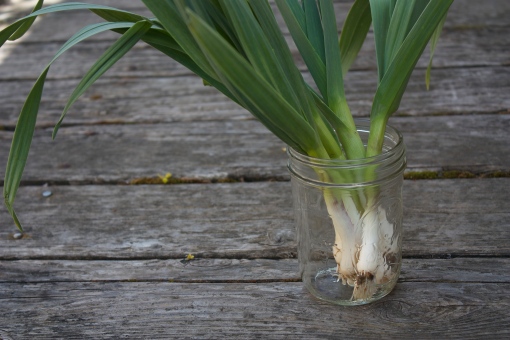
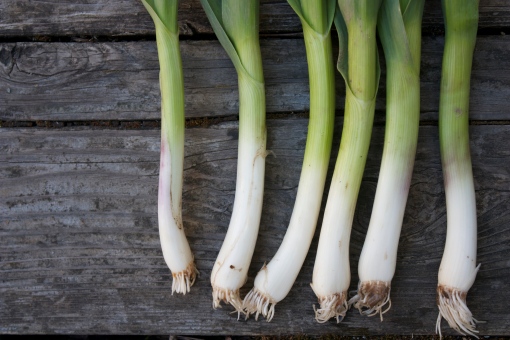
Spring is finally here and boy, am I ready.  I mean, it’s still hailing and snowing and a bit chilly but there have been a few days of just splendid spring about.  With spring of course, comes the opening of the famers market.  This week I hardened my resolve and braved the Southern Oregon rains to get myself and my basket over to my local market. Nothing could stand in my way! I was on a mission… a mission for green garlic.   There are a few vegetables and fruits that are fleeting in each season, ones that grace us with their majestic beauty for only a few weeks at a time and then they are gone, green garlic is one of those vegetables. You see, we only get it for a moment because it grows into garlic! But right before the main bulb slits into many and the garlic we know and use year round starts to form, we get the special treat of the young mild green garlic.  You can use it in any recipe that calls for garlic and it will give just the whisper of garlic flavor to the dish.  But what I love is enjoying it in ways you don’t get to when it matures into garlic.

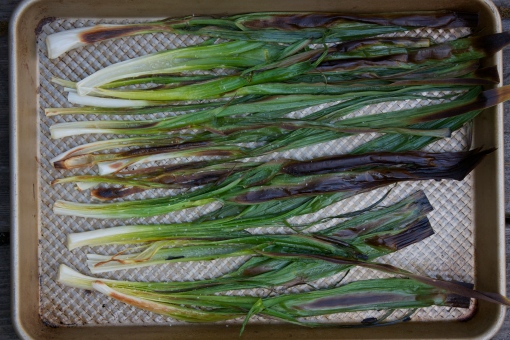
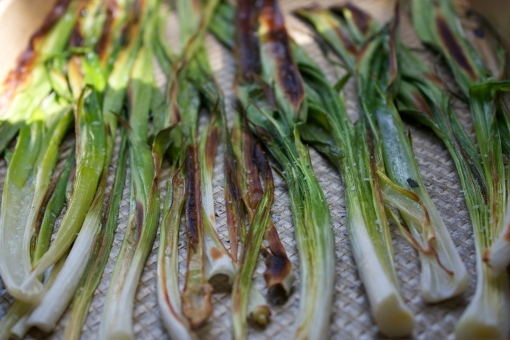
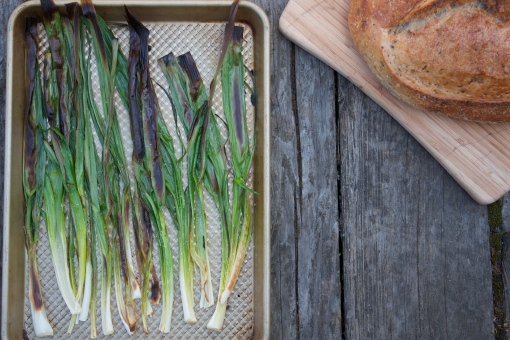
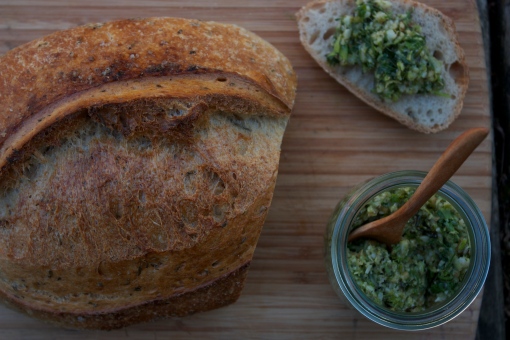
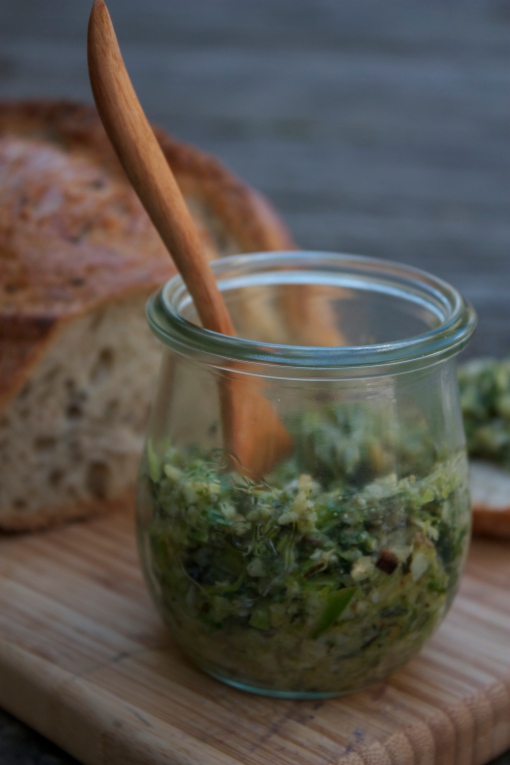
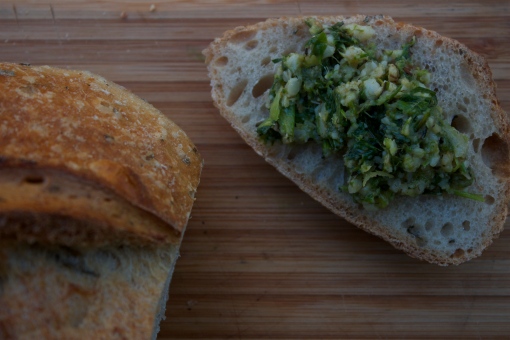
Today I am sharing two ways I like to enjoy this gem of early spring.  One is simple and divine, Roasted Green Garlic.  It has a mild and delicate flavor when roasted with just a splash of olive oil and sea salt and makes a divine side dish.  Or you can take a few more steps after roasting and process it into a most flavorful pesto.  The pesto can be eaten slathered on bread or spread over the meat or fish of your choice or tossed into al dente pasta…or just eat it with a spoon when no one is watching.  Any way you serve it, this pesto is sure to bring spring to your lips!

Green Garlic Green Garlic Green Garlic Green Garlic - Roasted Green Garlic - Roasted Green Garlic - Roasted Roasted Green Garlic Pesto Roasted Green Garlic Pesto Roasted Green Garlic Pesto

You will need:

For Roasted Green Garlic:

1 bunch green garlic

Olive Oil

Salt to taste

Split the green garlic in long halves and arrange on a baking sheet, toss with olive oil and broil for 4 minutes or until brown, serve or make pesto

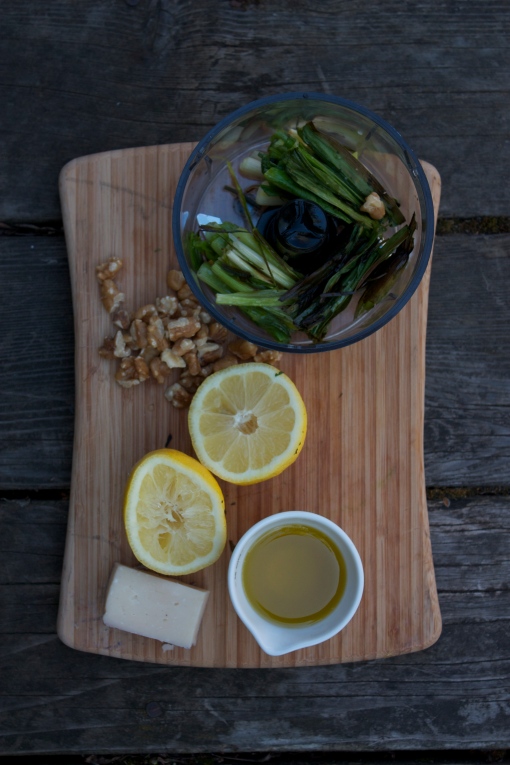
For Green Garlic Pesto:

The juice of half a lime

¼ cup olive oil

¼ cup walnuts

¼ cup Parmesan cheese

Salt to taste

Add the above roasted garlic to the ingredients above and mix with a food processor until a thick paste forms.  Serve on toast, pasta, roasted meat or boiled fish.  Cover and store in the fridge for 5 days or freeze for up to 6 months.

Roasted Green Garlic Pesto

Toasting your green garlic roasting,

Marcella Rose
Thread & Pearl Bracelet {DIY}

Pearl  bracelet

“But pearls are for tears, the old legend says,” Gilbert had objected.
“I’m not afraid of that. And tears can be happy as well as sad. My very happiest moments have been when I had tears in my eyes—when Marilla told me I might stay at Green Gables—when Matthew gave me the first pretty dress I ever had—when I heard that you were going to recover from the fever. So give me pearls for our troth ring, Gilbert, and I’ll willingly accept the sorrow of life with its joy.” -Anne”
― L.M. MontgomeryAnne’s House of Dreams

There is something whimsical about a pearl.  Its luster and beauty is striking; especially when you think about how a pearl is formed.  It’s the only gem stone that doesn’t come from the earth but from the sea.   A tiny bit of sand or shell irritates an oyster and if it can’t be expelled the oyster starts a process to make it tolerable. So like a true optimist, the shellfish coats the irritant with nacre that it produces to make the object smooth, as long as the object remains in the oyster it will continue to be coated; thusly is a pearl made.  Perhaps it was Anne of Green Gables… no it was definitely Anne who instilled my love of pearls.  They are my analogy for life, when things get irritating just make them into something with polish and sparkle, smooth them out and turn that irritation into something beautiful!

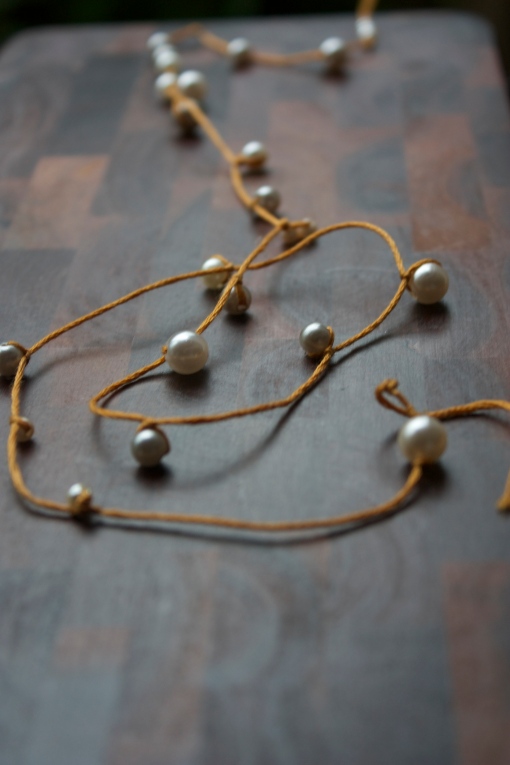
These easy bracelets remind me of the friendship bracelets of my childhood with a grown-up twist.  After having spent an epic weekend in San Francisco with two of my best girlfriends I wanted to send them a little thank you note and small gift and these bracelets are perfection.  It was so healing to see my girlfriends, to completely immerse ourselves in each other’s company.  We laughed so hard our stomachs were sore, indulged in meal after glorious meal, explored the city, took a midnight trolley ride to the end of the line, visited the haberdasher all walking out with new hats on our heads and hat boxes on our arms, and danced the evenings away to our heart’s content.  But all too soon the weekend came to an end, the joy and the sorrow of live, the ebb and flow continues.  So make a wish, tie on one of these Thread and Pearl Bracelets and let it remind you to accept the sorrow of life with its joy.


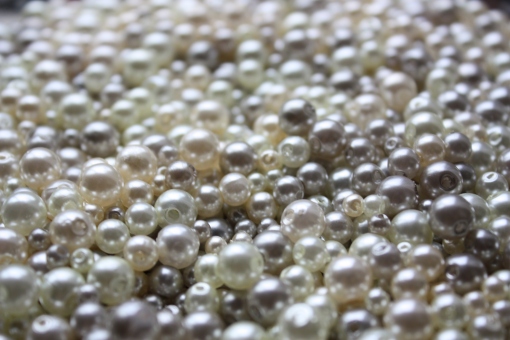
Love to pearl Pearl beads

You will need:

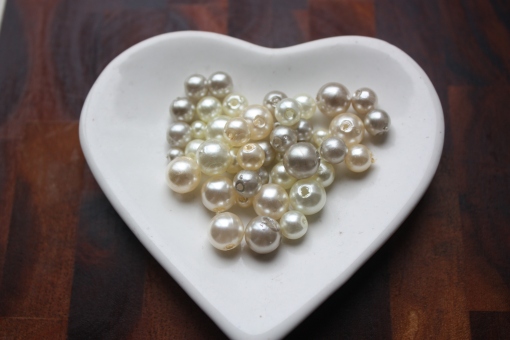
  • Pearl beads
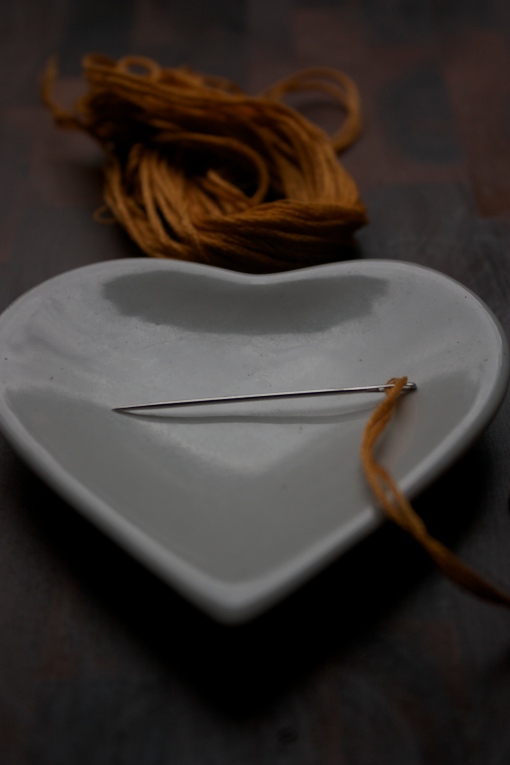
  • Embroidery Thread
  • Needle

How to:

  • Thread your needle with your chosen thread
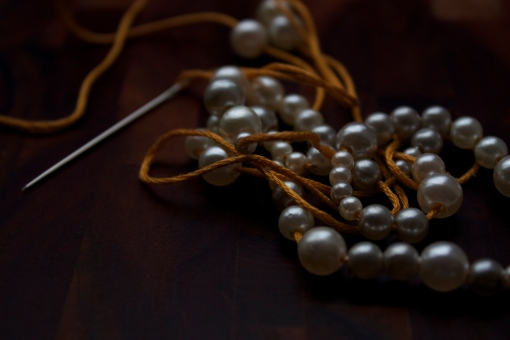
  • Slide pearls one at a time onto the thread using the needle
  • Either knot on each side of the pearl or tie a knot around the pearl to keep it in place
  • Fill thread with as many pearls as you would like spacing for effect
  • Tie the ends together

thread and needle for Pearl  bracelet

Pearl  bracelet

To the joy and the sorrow and most of all to friendship,

Marcella Rose

Pearl  bracelet

Shakshuka {Gluten Free}

shakshuka

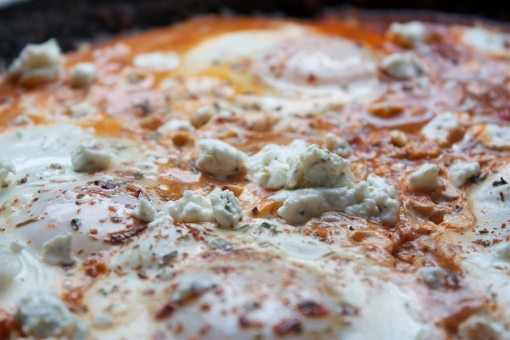
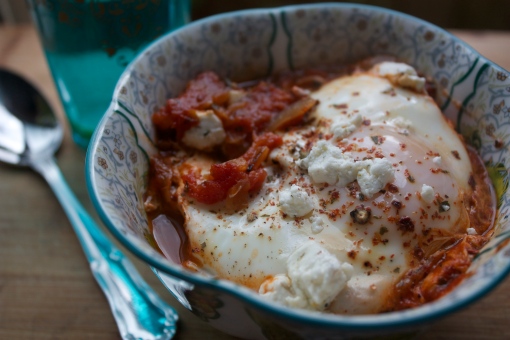
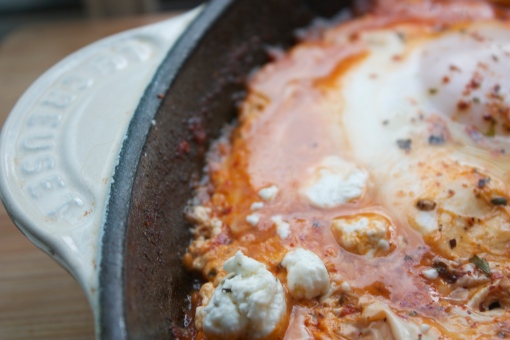
You wake up, you’re tired. Well maybe you aren’t, but I am and I can’t be alone in this feeling…right readers?  On the weekends I often feel like getting up and making breakfast is just too much, can’t I just stay in bed and have Charles (the butler I wish I had) bring me breakfast in bed, Downton Abby style? I mean life is taxing and you are hitting it hard.  Between work, family, obligations, friends, the gym and the home, finding time to make a healthy meal can often feel like panning for gold in the Mississippi, i.e. almost impossible.  So you often fall back on your go-tos; you know, things you make all the time.  Go-tos are a great thing, but go-to them too much and you can get palate fatigue.  You’ve got to spice things up!  Do something different, look outside the box or look to Marcella Rose’s! Well, if Sunday breakfast has you bored, do I have a new breakfast dish for you.  Shakshuka.  It’s fun to say right? Shakshuka!  Well it’s even more fun to make and by fun I mean easy, like crazy easy. Plus it’s insanely delicious and you can probably make it right now with ingredients you already have on-hand.  Some recipes of this dish call for crusty bread which is amazing for scooping up the heavy caramelized sauce but if you’re gluten free it’s amazing by the spoonful or with warm corn tortillas.  Shakshuka recipes often call for feta or goat cheese but really any cheese you have on hand will do, you can make it simple with salt and pepper or you can add spices to take the flavor through the roof.  Again my recipe is below, but play around and make it your own! I always feel it best to break all the rules in the kitchen.  It’s the one safe place to do it right?  Your Le Creuset pan can’t really fire you now can it?  Your olive oil won’t give you a ticket now will it?  So have some fun, spice it up, shake it off, or rather Shakshuka it off, and trust me you will feel like jumping out of bed to make this breakfast.

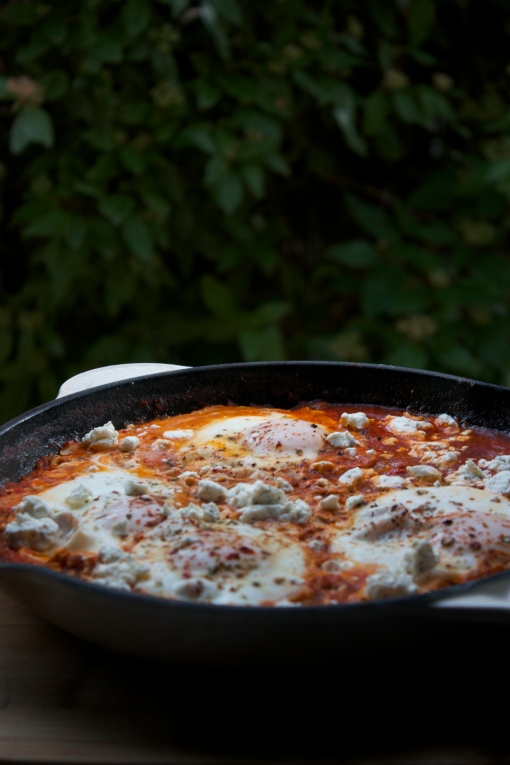
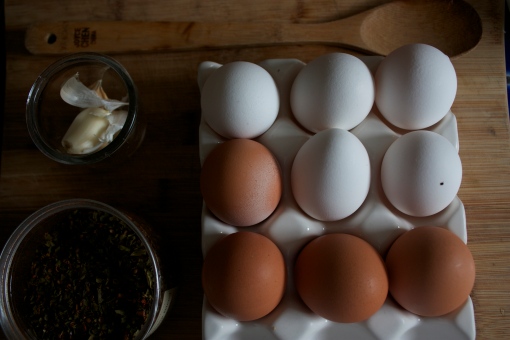
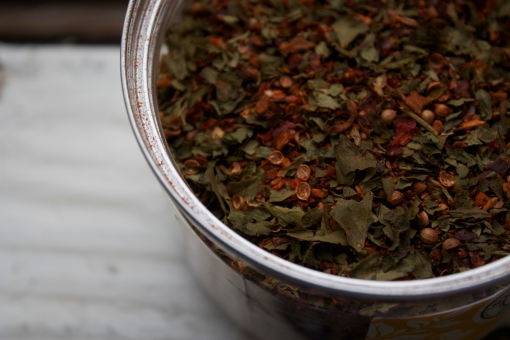
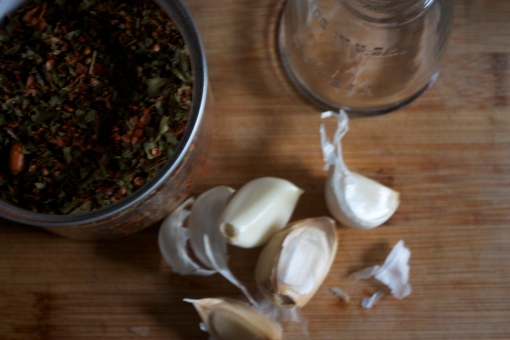
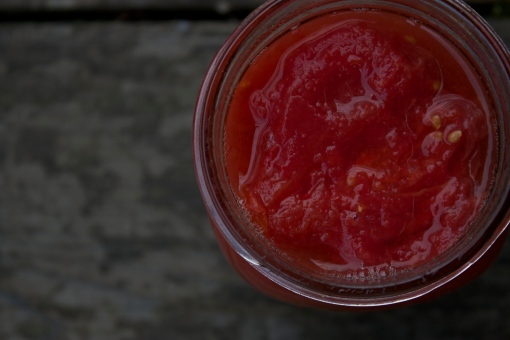
good morning eggs a blend of parsley, fennel, garlic, sweet paprika, and other spices shakshuka Canned Tomatoes

You will need

  • 3-5 cloves minced garlic – depending on how Italian you are…if you are Sicilian add some more
  • 1 onion diced
  • 3 glugs olive oil
  • 1 quart jar of stewed tomatoes (plus the juice)
  • 5 eggs – or more if you have a bigger pan or more mouths to feed
  • Feta (optional)
  • Flat leaf parsley chopped – about 3 tablespoons (optional)
  • Salt and pepper to taste
  • Spices – I used a middle eastern blend of a  parsley, fennel, garlic, sweet paprika and other spices

How to

  • Heat a pan over medium high heat and add olive oil
  • Sauté your onion until translucent; about 4 minutes
  • Add garlic, stirring to avoid it burning, until fragrant; about 1 minute
  • Dump in tomatoes and juice, smashing the tomatoes with the back of a wooden spoon
  • Add spices (if using), salt and pepper then stir to incorporate
  • Allow the mixture to simmer until the juice cooks down and you have a thick sauce; about 5 minutes
  • Crack your eggs directly into the tomato mixture and cover with a lid
  • Cook eggs until yolks are soft but still runny; about 3 minutes
  • Top with cheese and parsley
  • Dig in

IMG_7050shakshuka shakshuka

Shakshuka for everyone!

Marcella Rose
shakshuka

Enter your email address to subscribe to this blog and receive notifications of new posts by email.
Join 775 other subscribers