Summer in a Jar – Strawberry Freezer Jam

Summer in a Jar - Strawberry Freezer Jam

Let those December winds bellow ‘n blow, I’m as warm as a July tomato.

Peaches on the shelf

Potatoes in the bin

Supper’s ready, everybody come on in

Taste a little of the summer,

Taste a little of the summer,

You can taste a little of the summer my grandma’s put it all in jars.


Well, there’s a root cellar, fruit cellar down below

Watch you head now, and down you go

Maybe you’re weary an’ you don’t give a damn

I bet you never tasted her blackberry jam.

Ah, she’s got magic in her – you know what I mean

She puts the sun and rain in with her green beans.

What with the snow and the economy and ev’ry’thing,

I think I’ll jus’ stay down here and eat until spring.


When I go to see my grandma I gain a lot of weight

With her dear hands she gives me plate after plate.

She cans the pickles, sweet & dill

She cans the songs of the whippoorwill

And the morning dew and the evening moon ‘n

I really got to go see her pretty soon

‘Cause these canned goods I buy at the store

Ain’t got the summer in them anymore.


Peaches on the shelf, potatoes in the bin

Supper’s ready, everybody come on in, now

Taste a little of the summer,

Taste a little of the summer,

Taste a little of the summer,

My grandma put it all in jars.

Let those December winds bellow and blow,

I’m as warm as a July tomato.

– Canned Goods, by Greg Brown

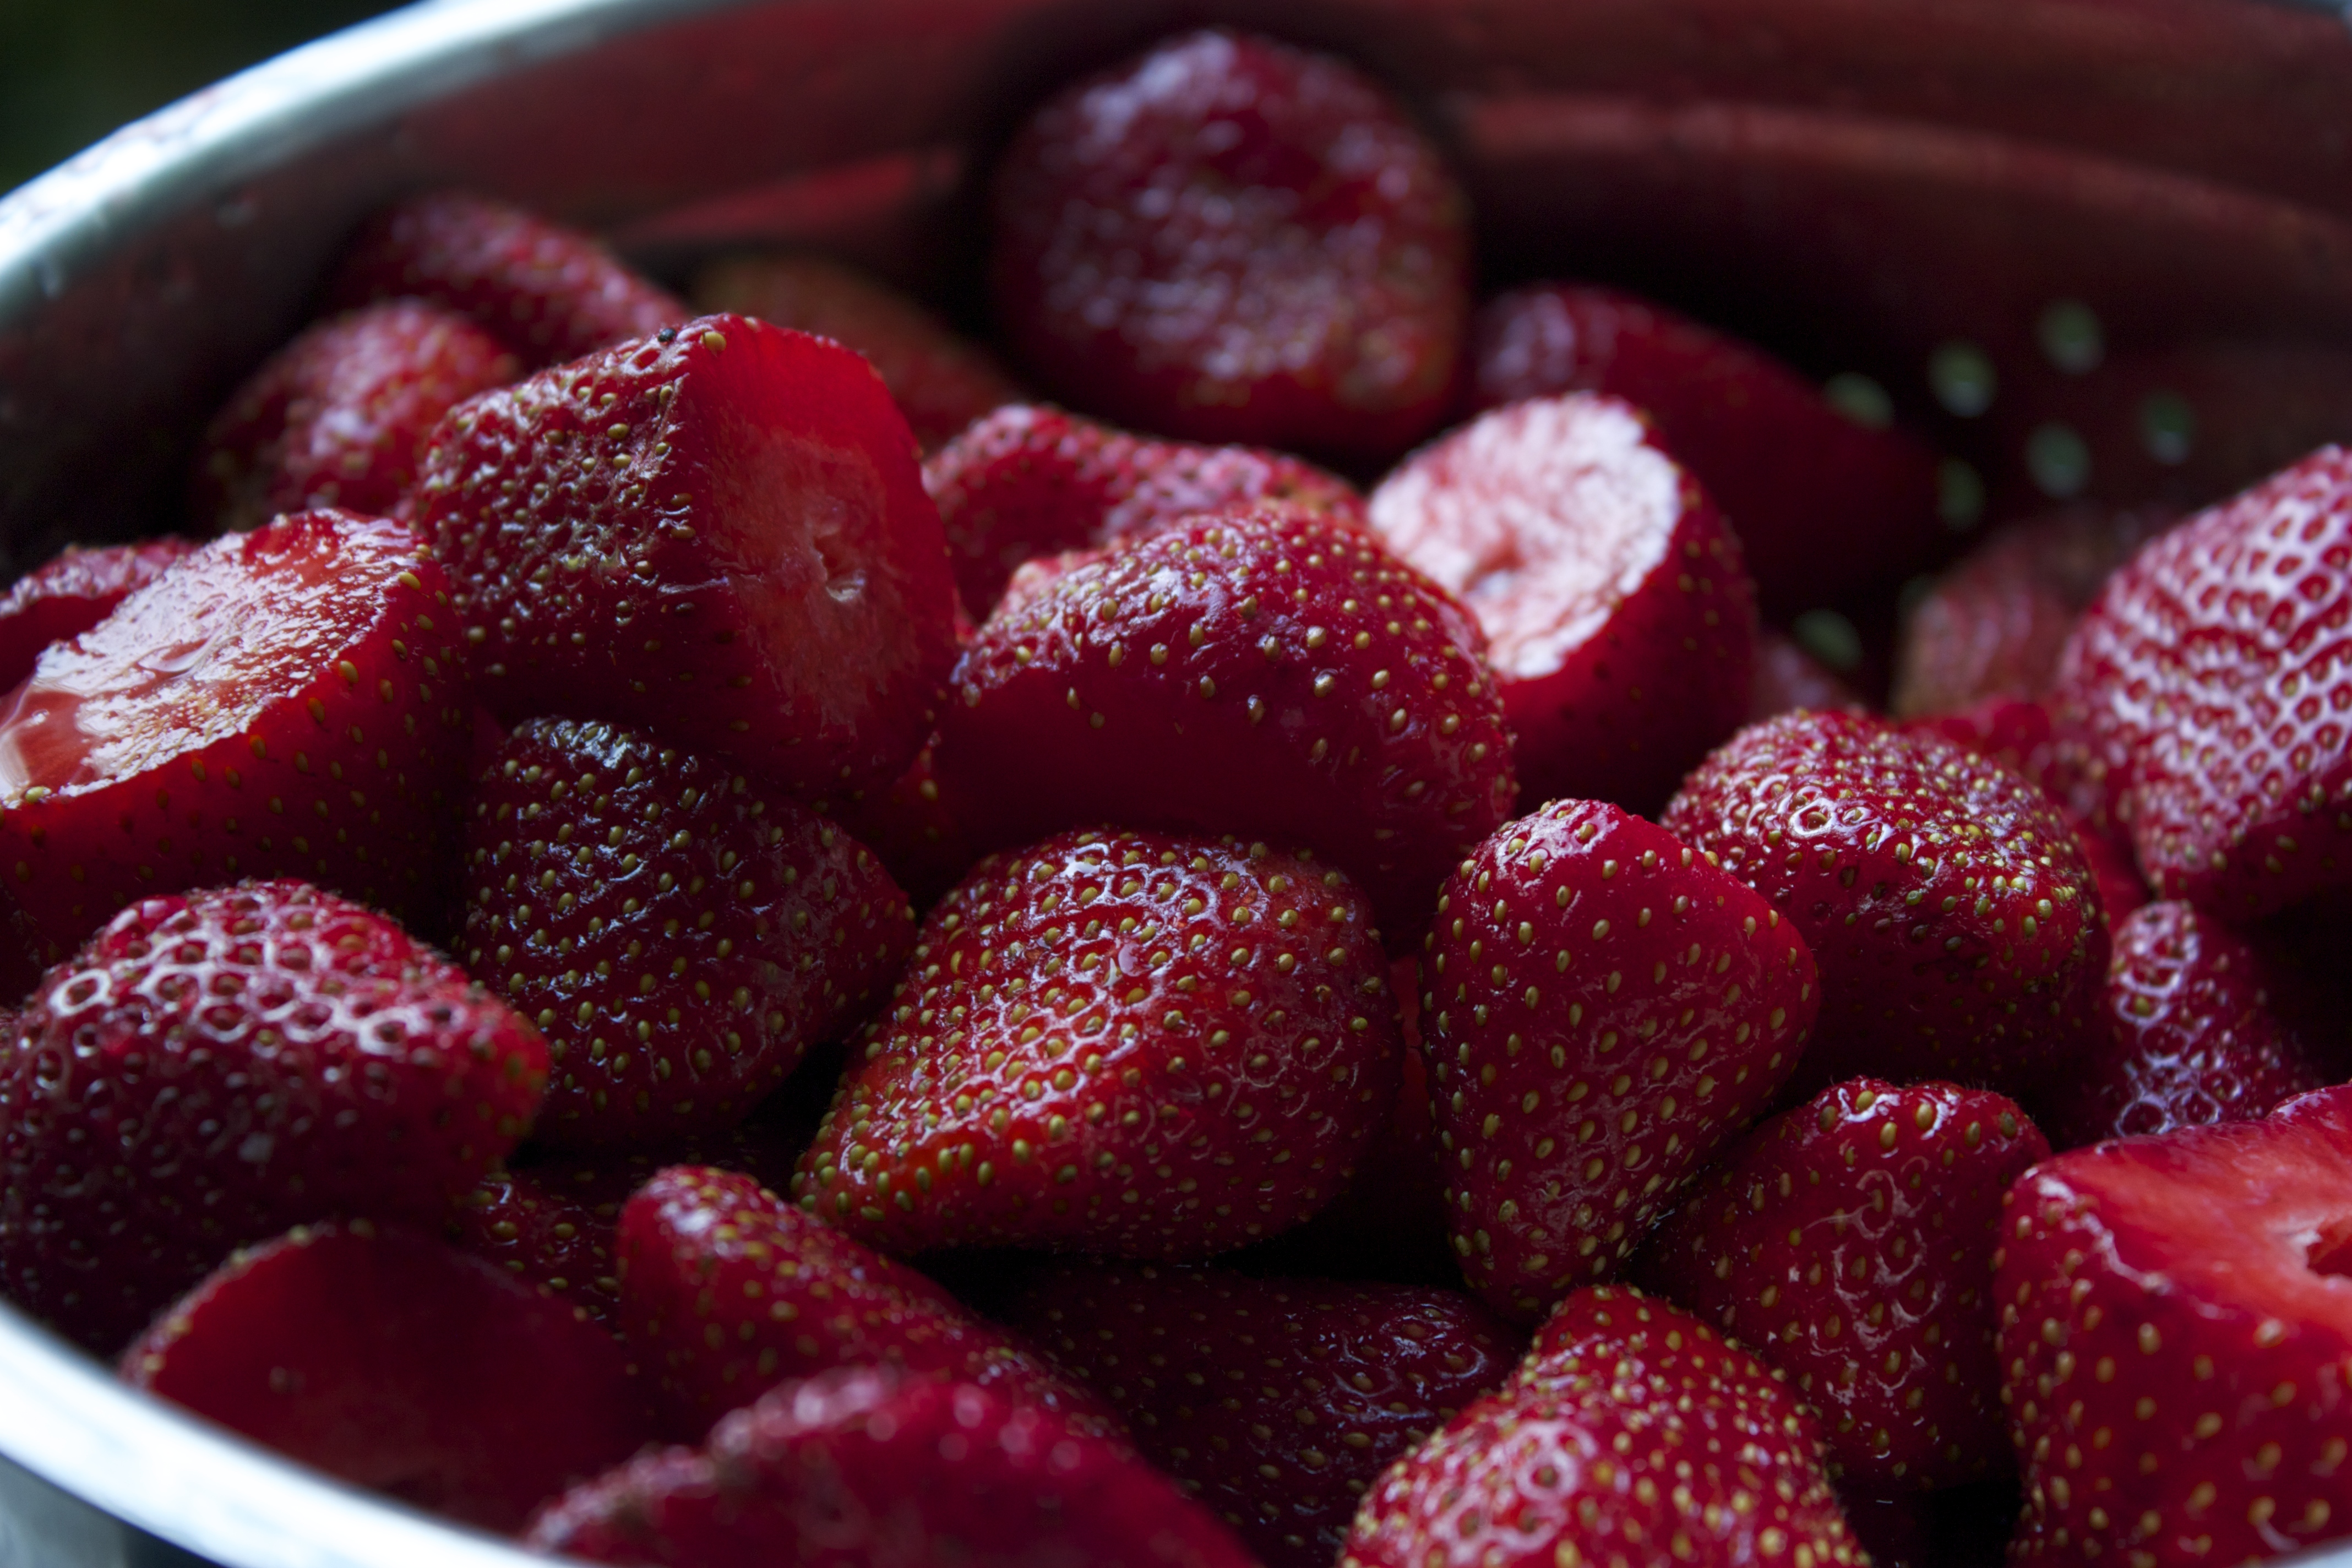
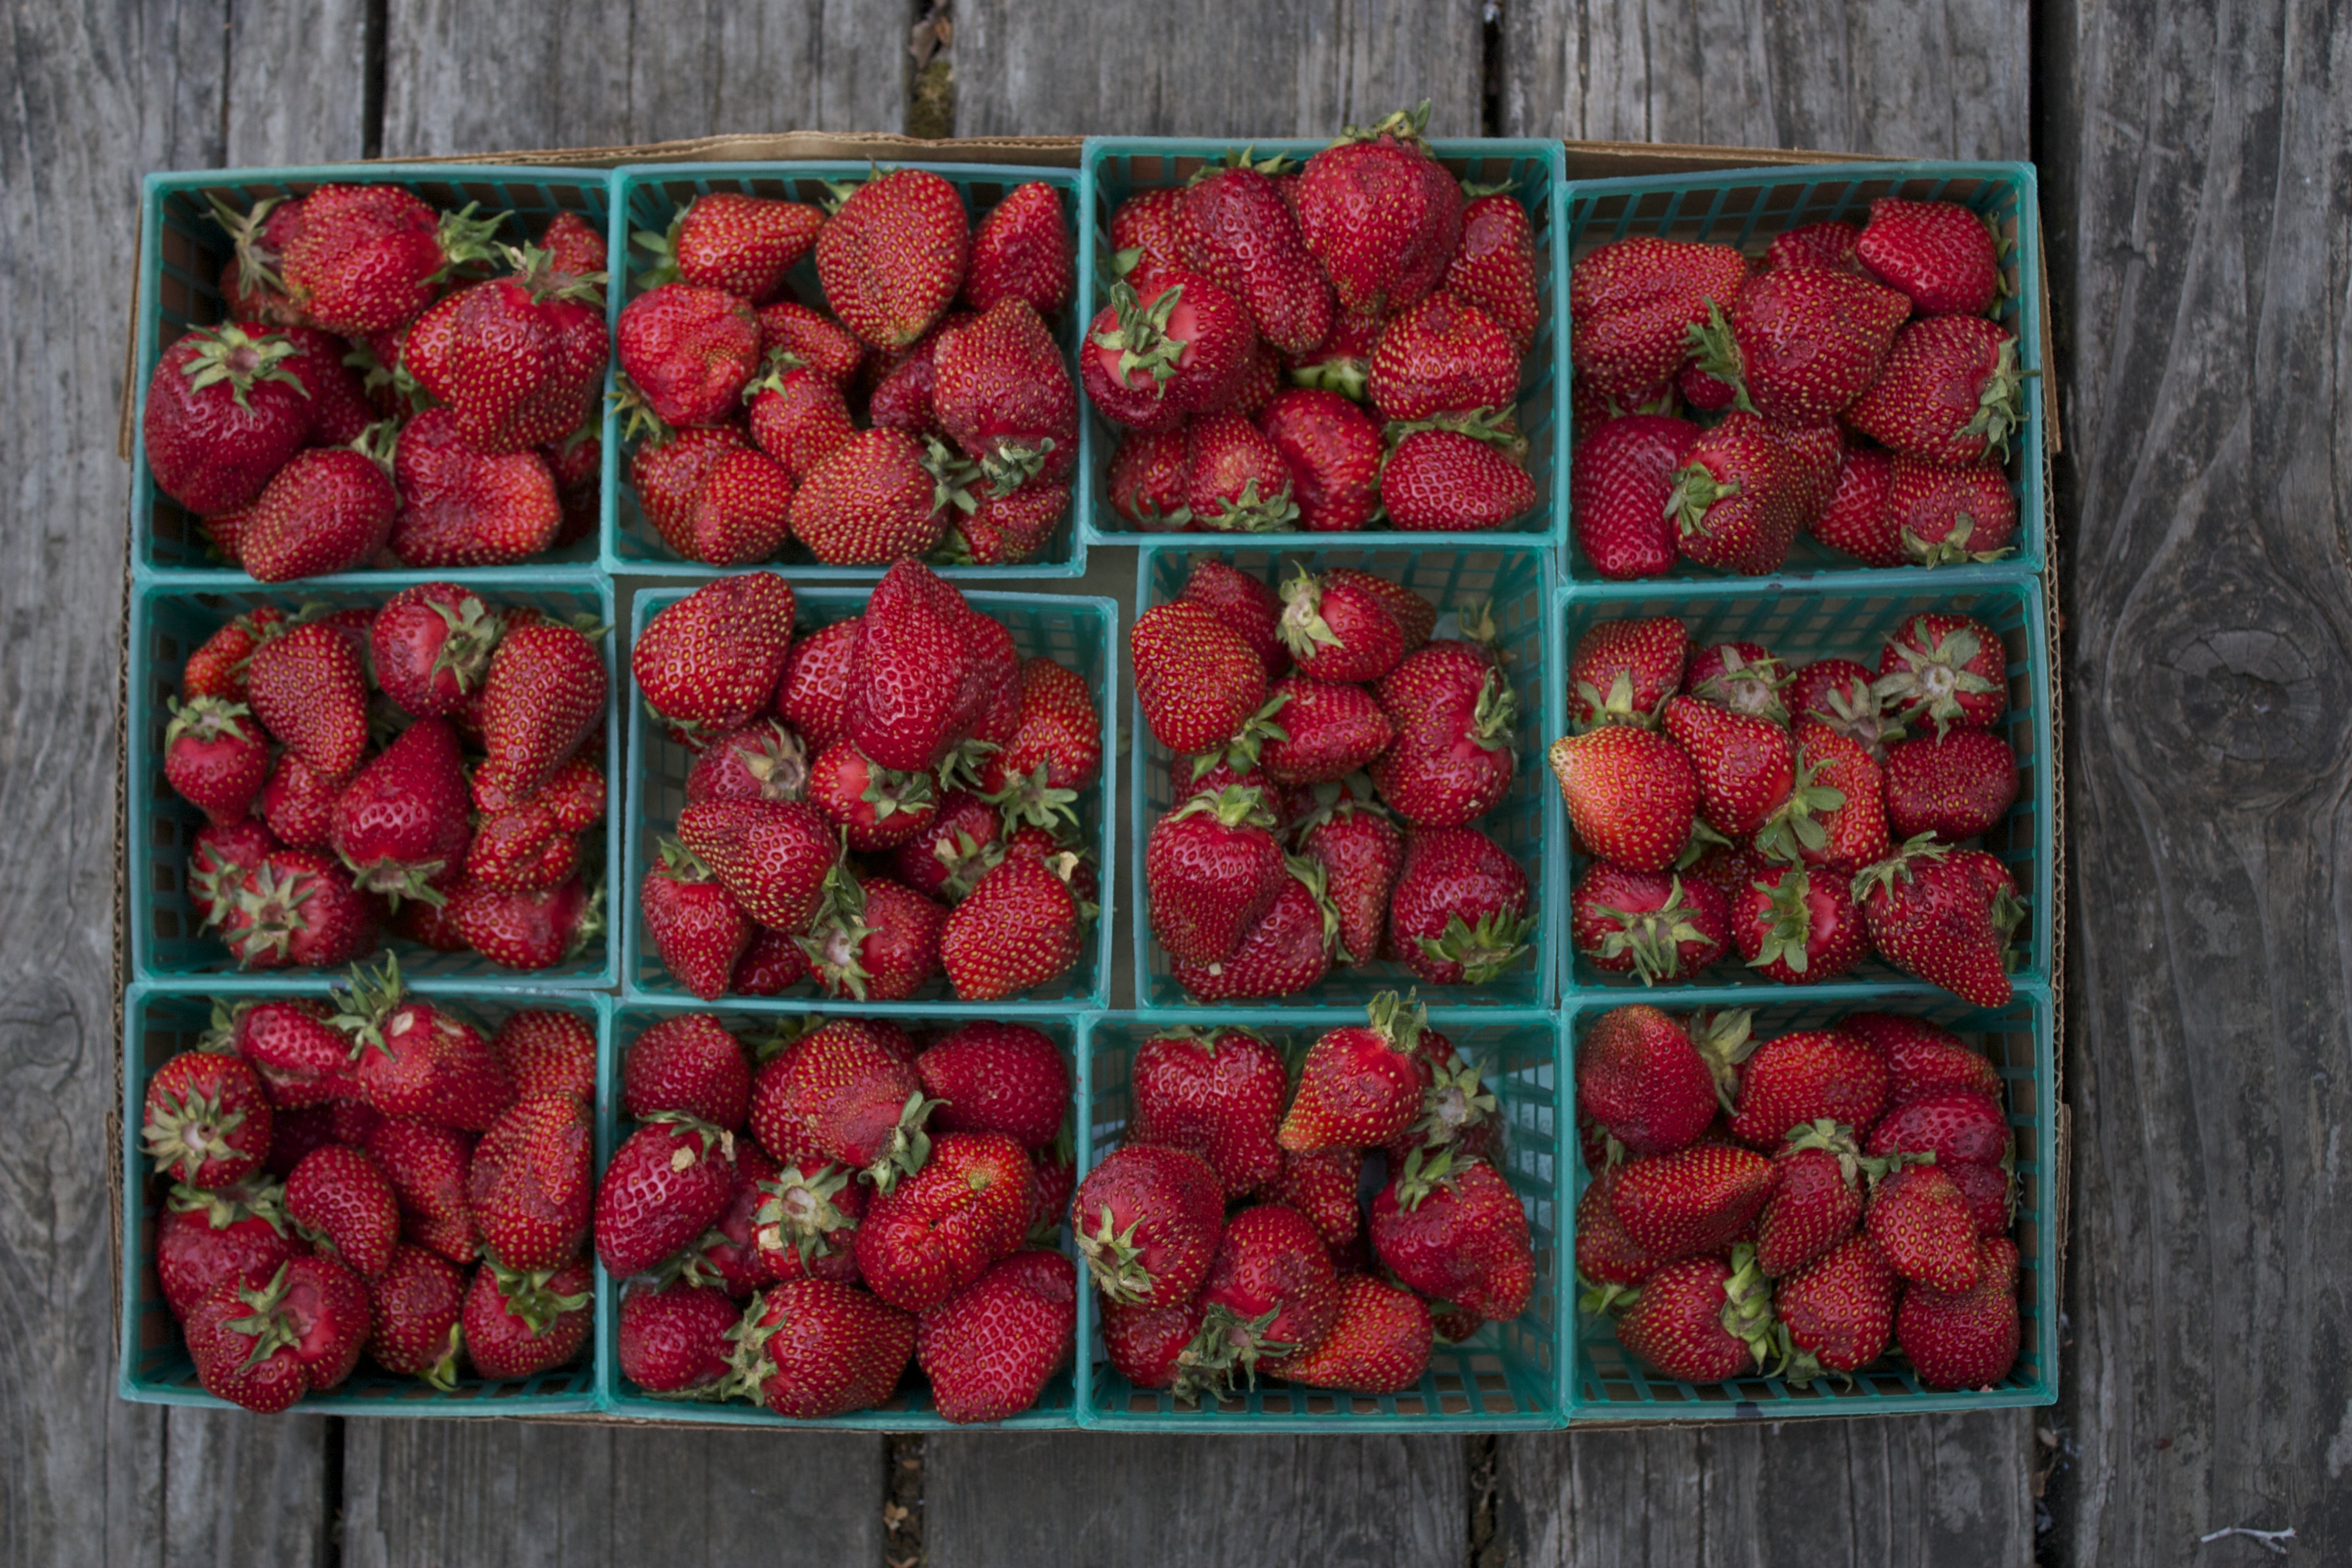
That’s right, with the summer months upon us it’s time to start canning up the magic. Now is the perfect time to be putting fresh strawberries in jars and freezing them for long cold winter nights to be slathered on fresh baked sourdough bread and eaten by the fireside with cups of warm tea. When I put in the call to my mom to see if I could use her famous and legendary Strawberry Jam recipe on the blog, she laughed as she said “Marcella Rose of course you can! It’s not mine! It’s from the box of liquid pectin!” But she, with all of her motherly wisdom, still bestowed on me the way to make it always turn out perfectly. Here are the tips: only use the ripest strawberries, only use fresh lemon, don’t mess with the sugar it’s a lot yes but you eat it sparingly like honey so don’t fret, oh and listen to Greg Brown while making it.

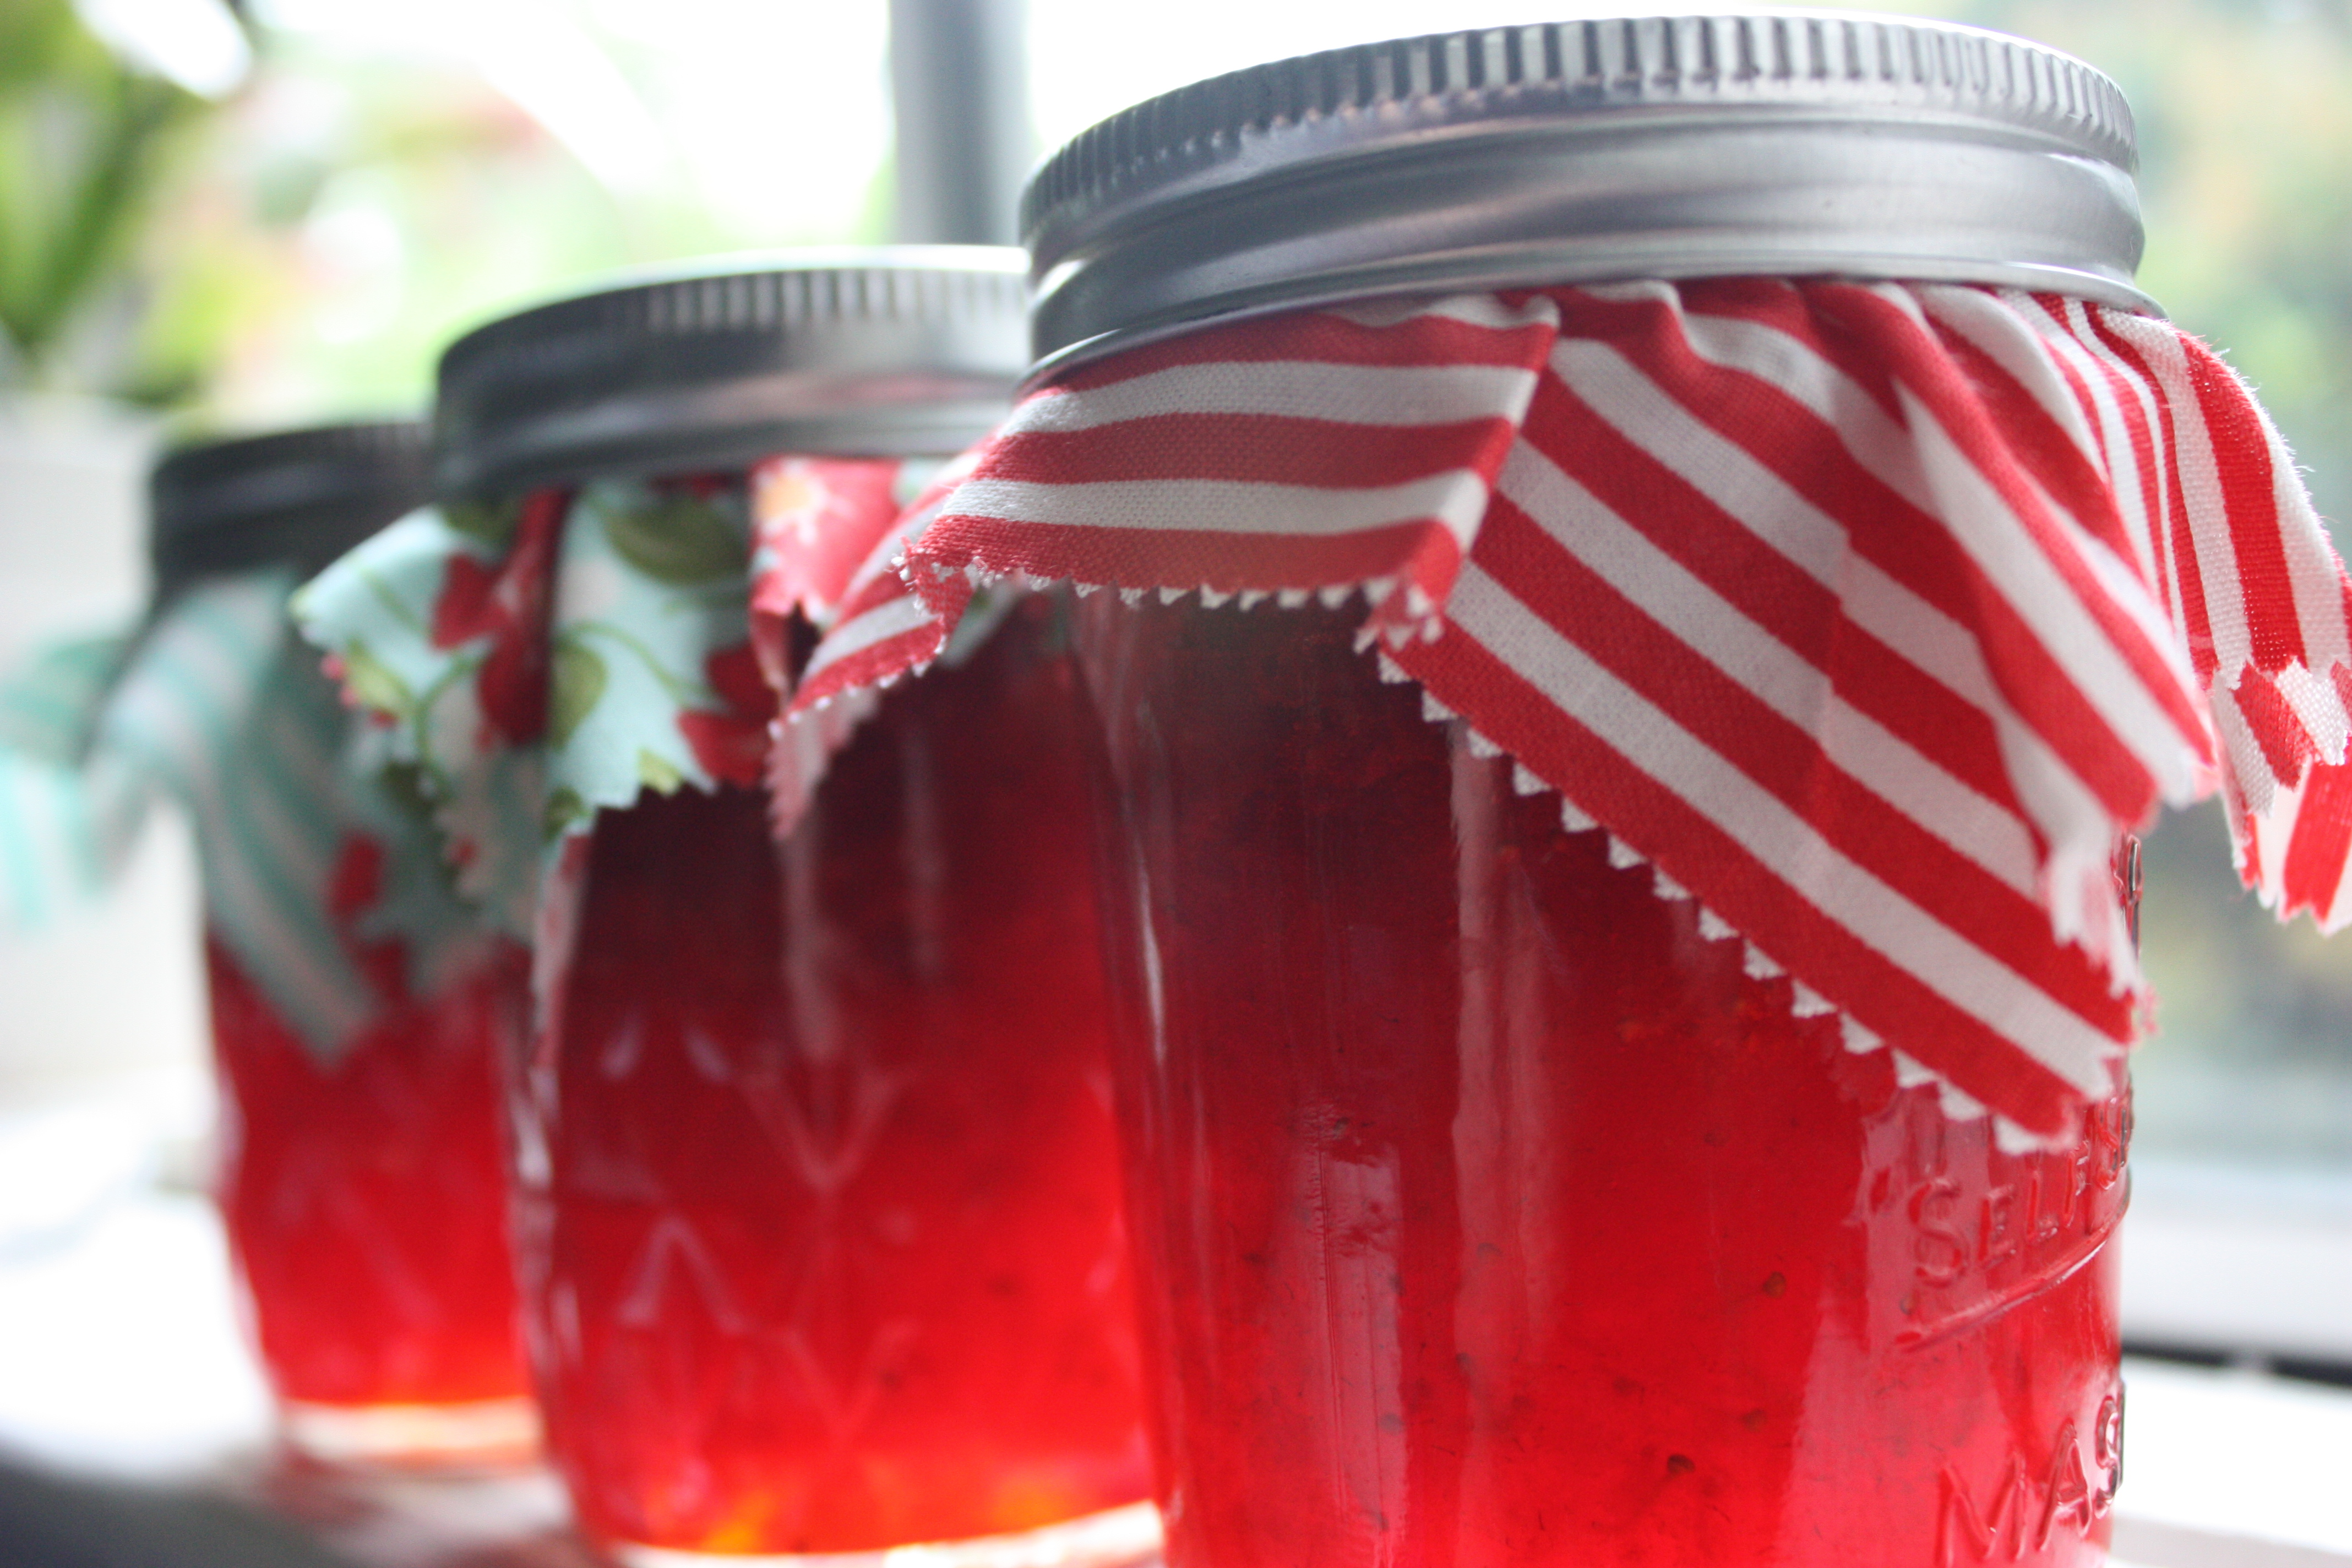
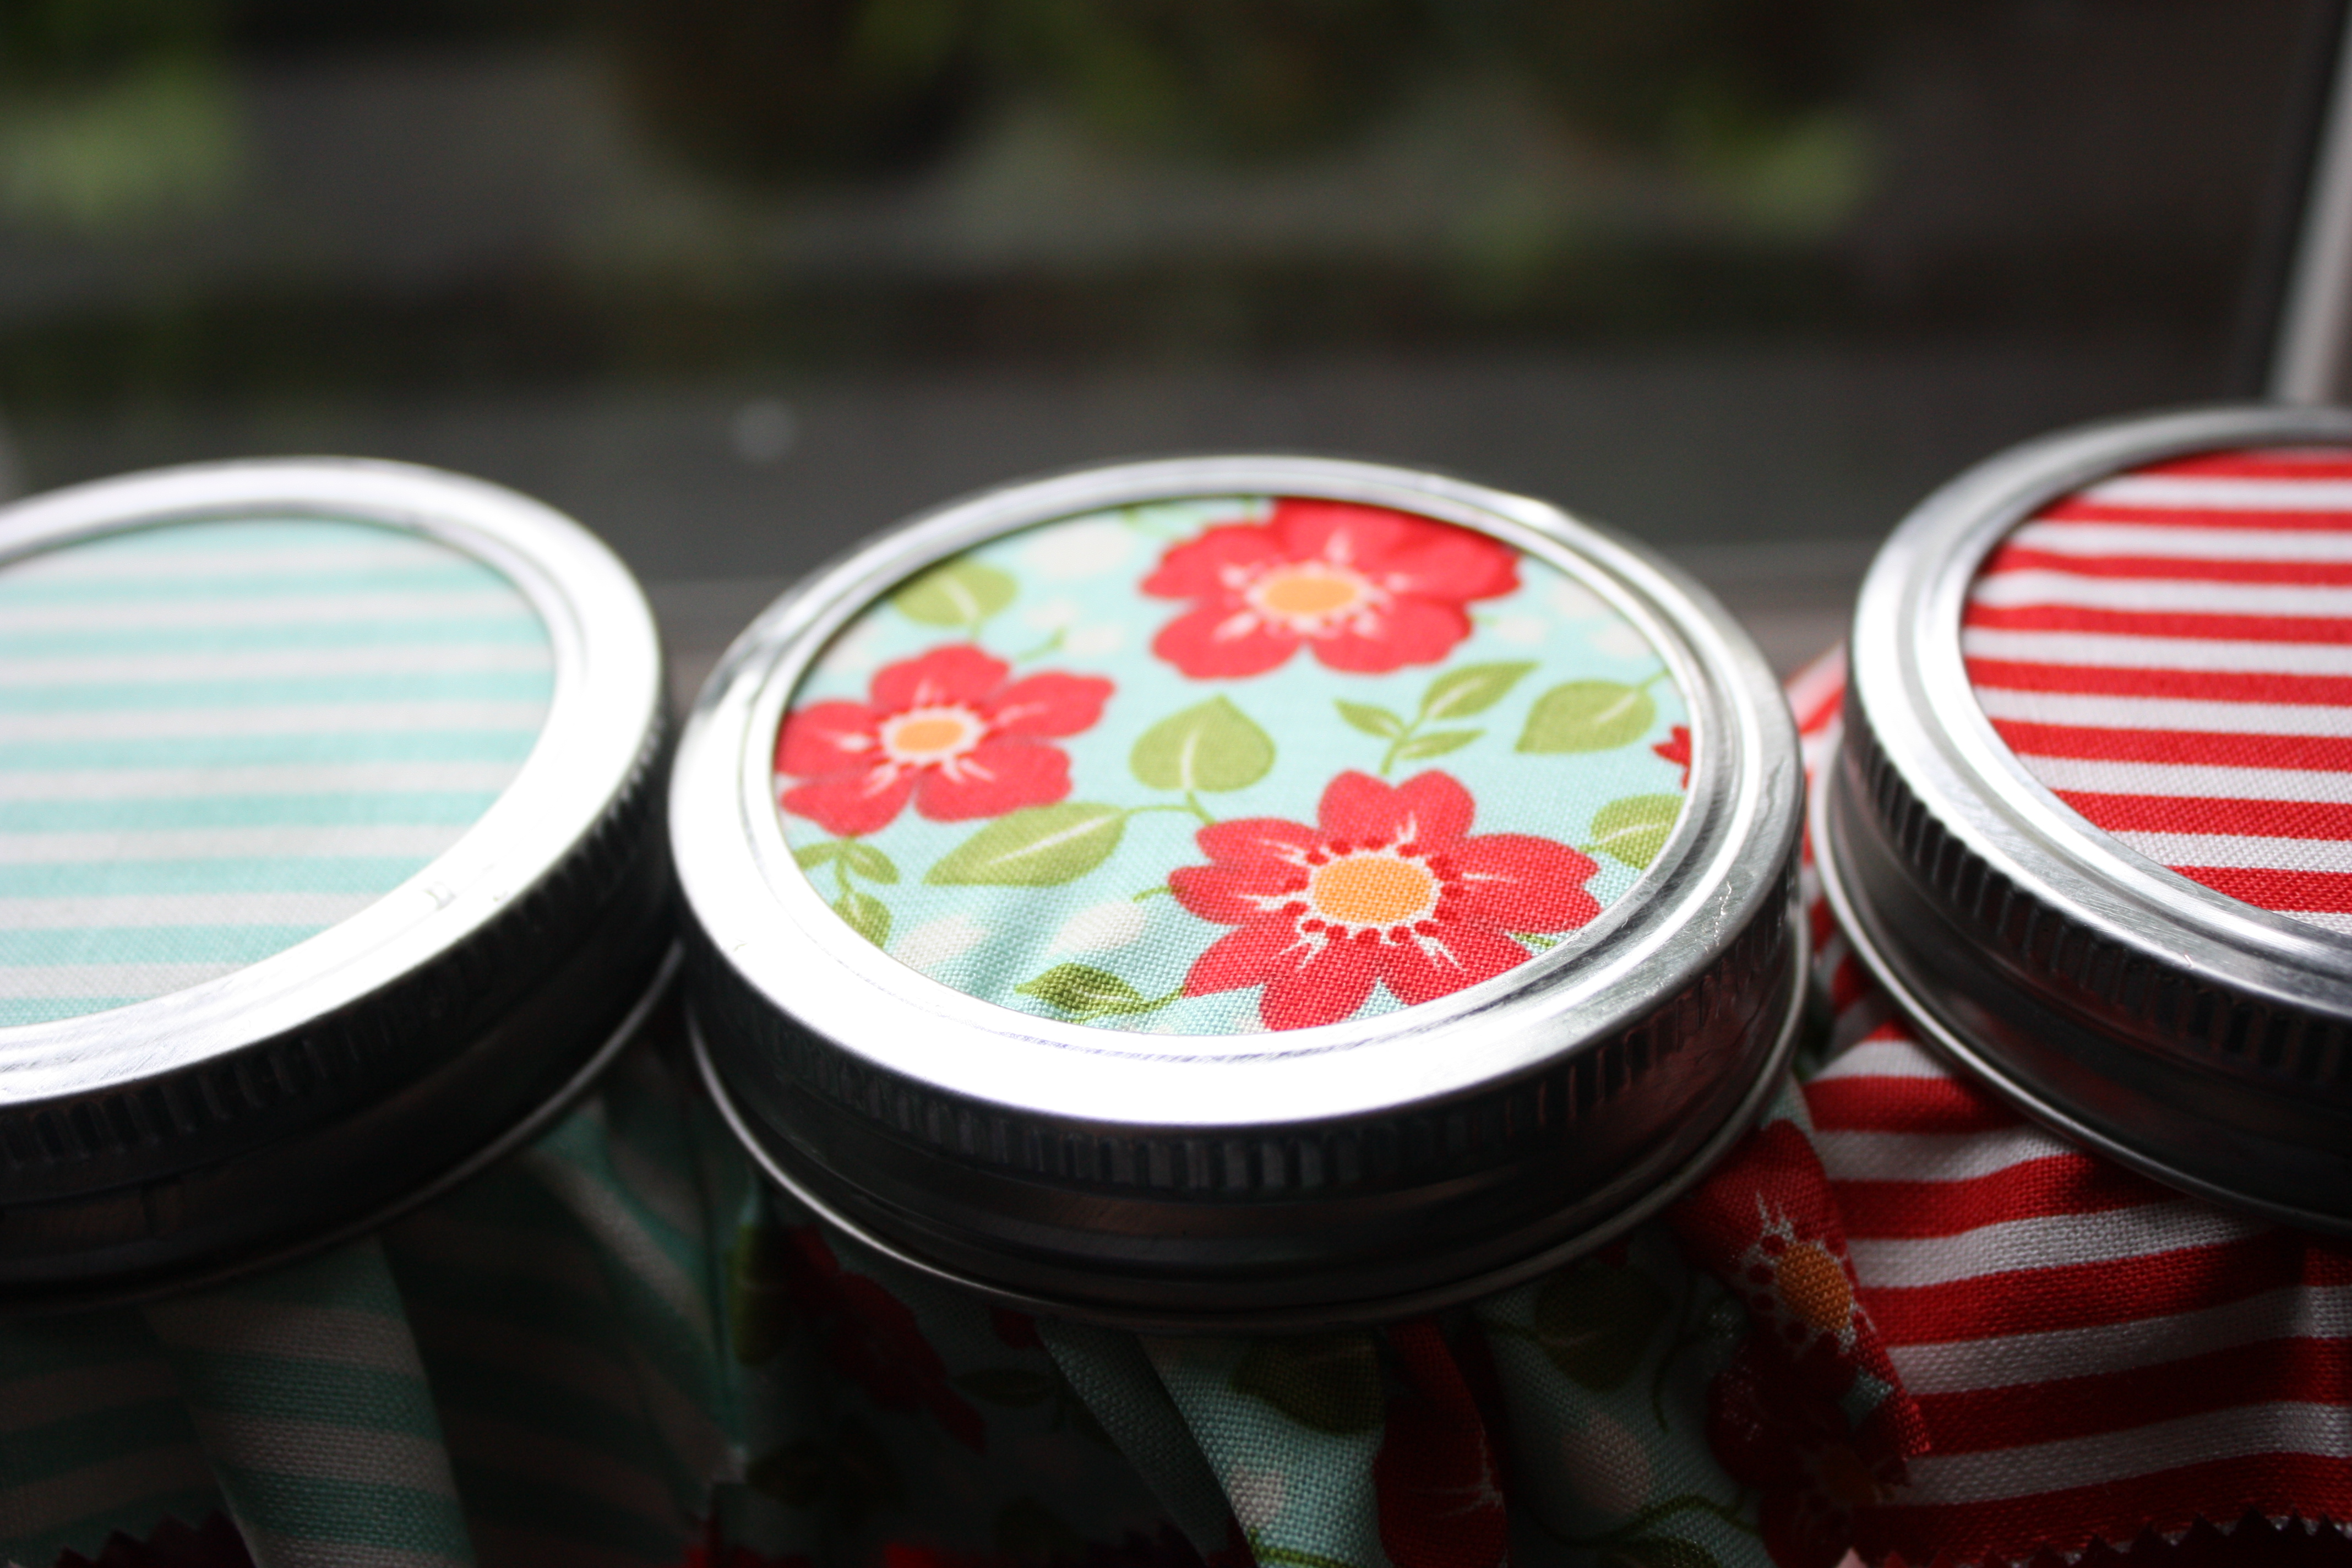
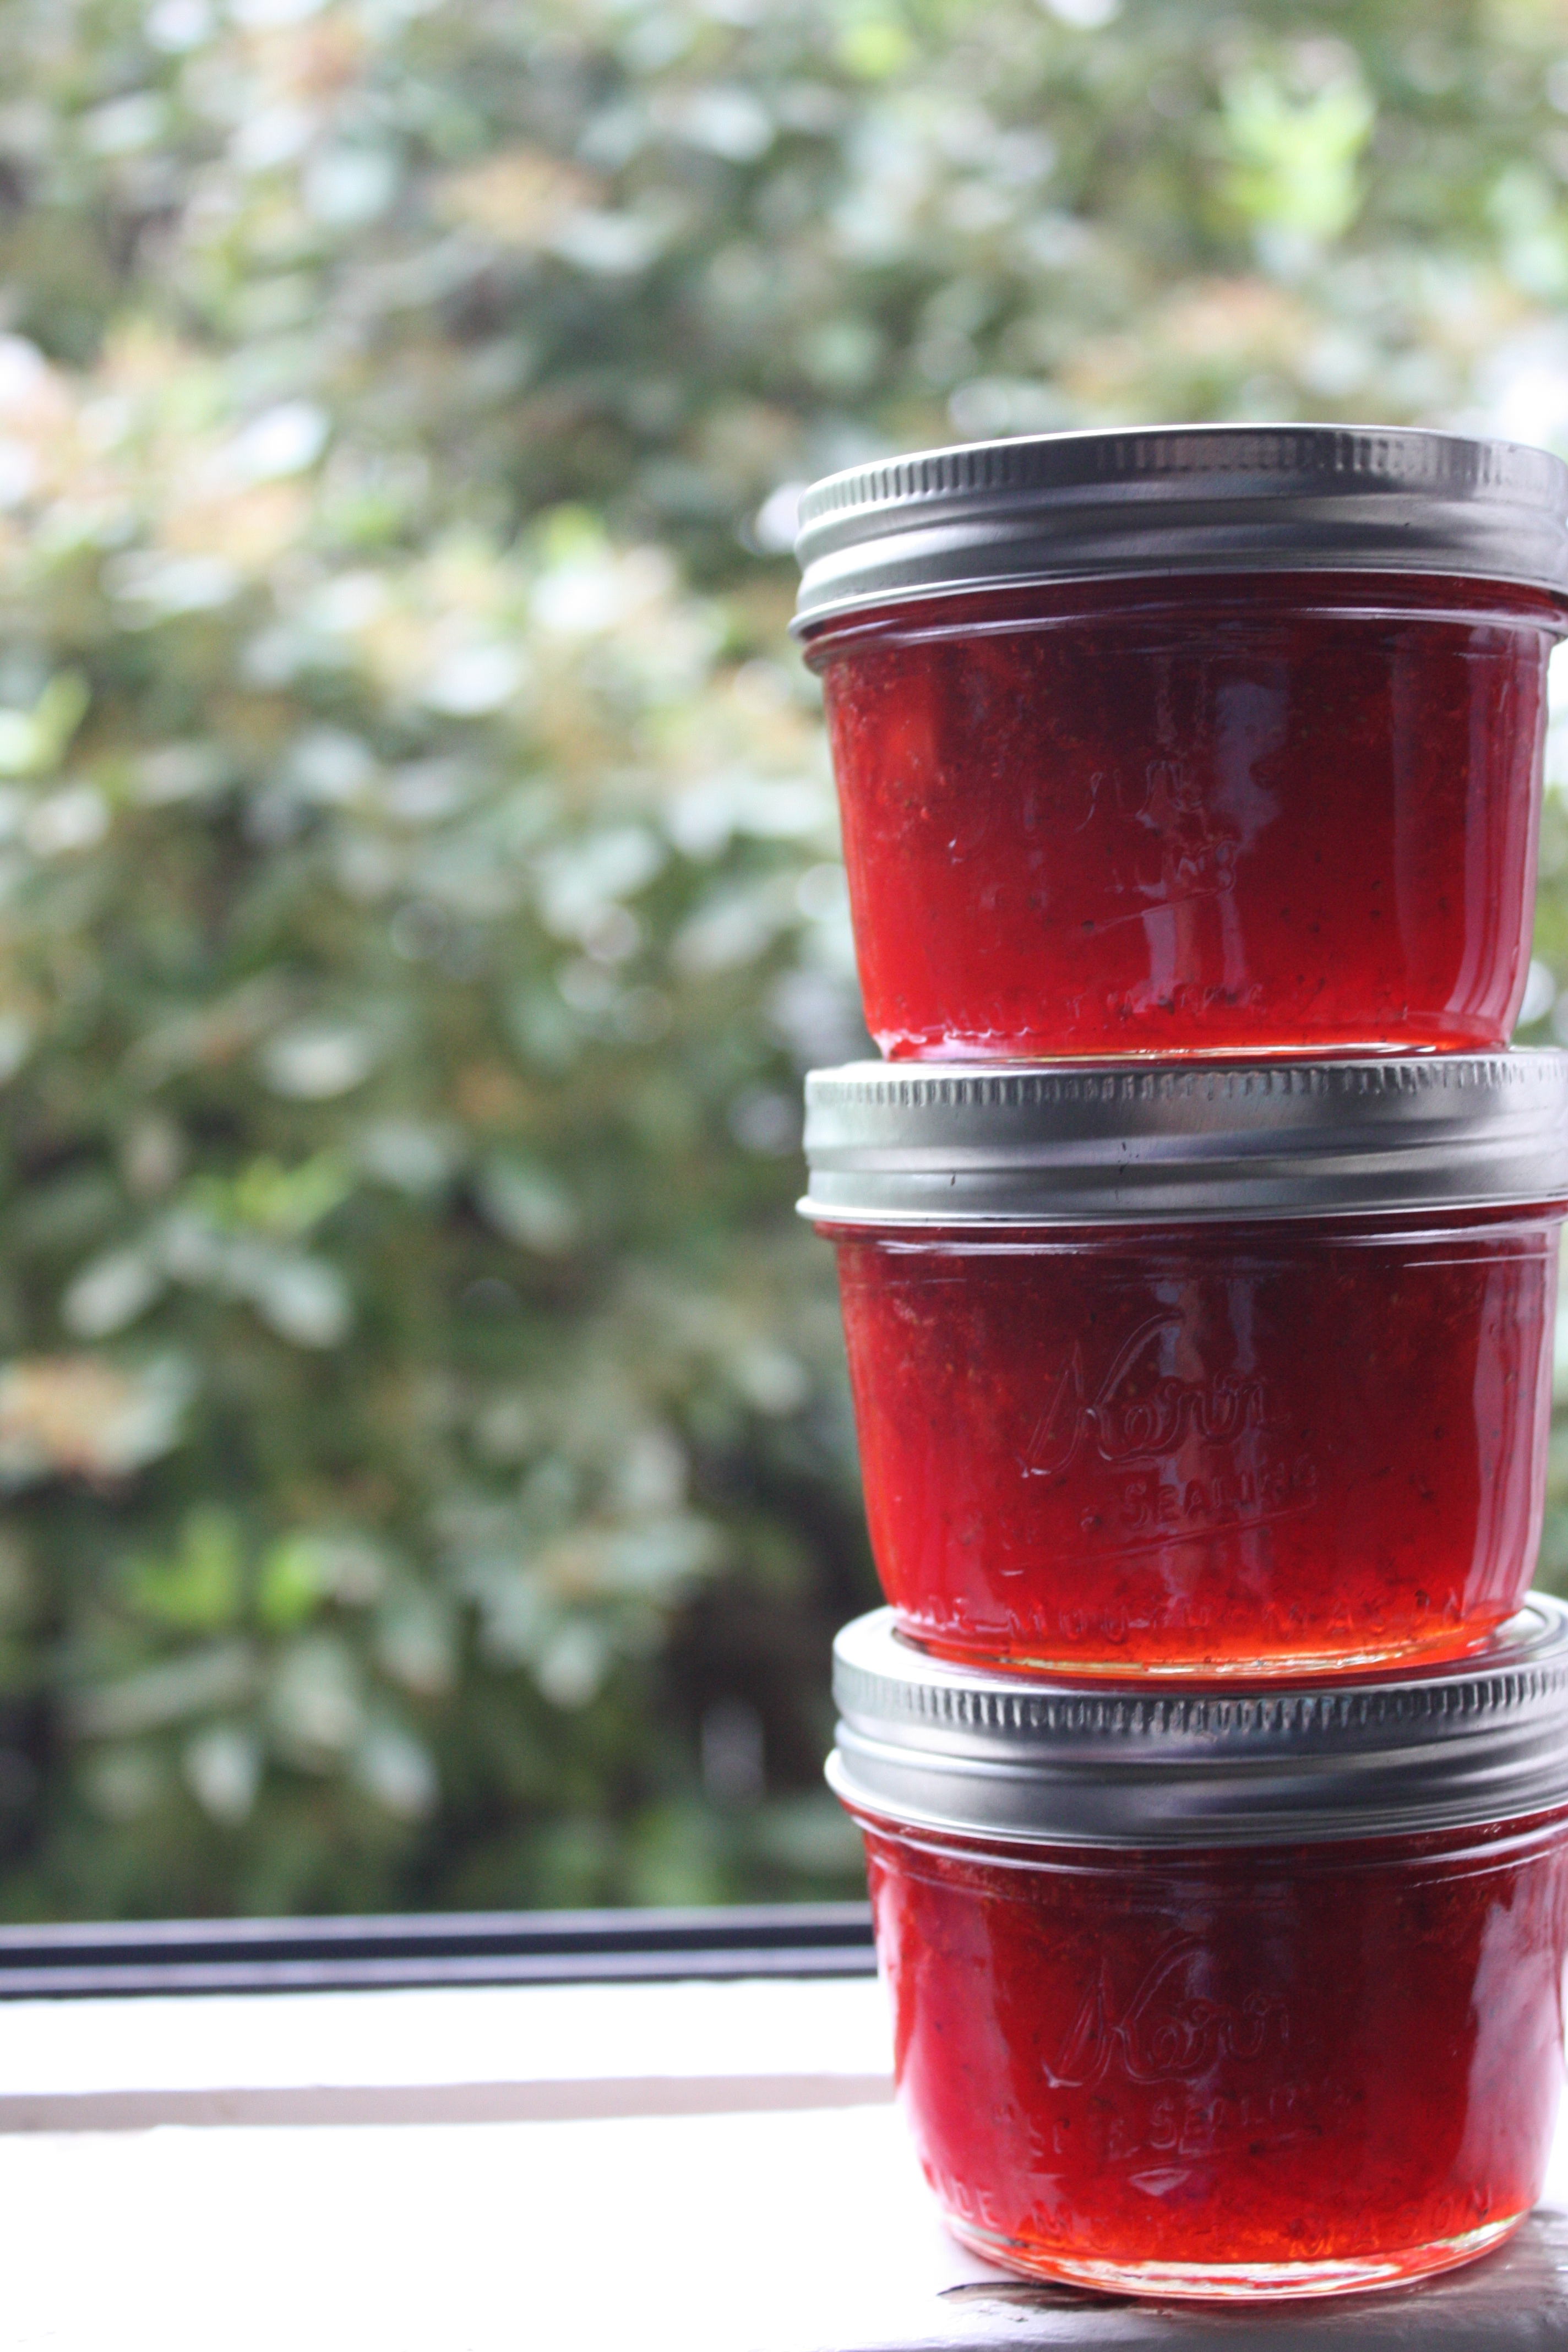
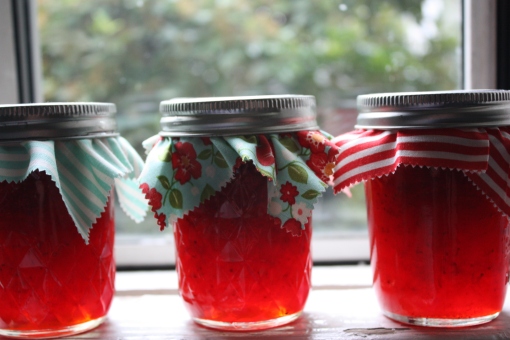
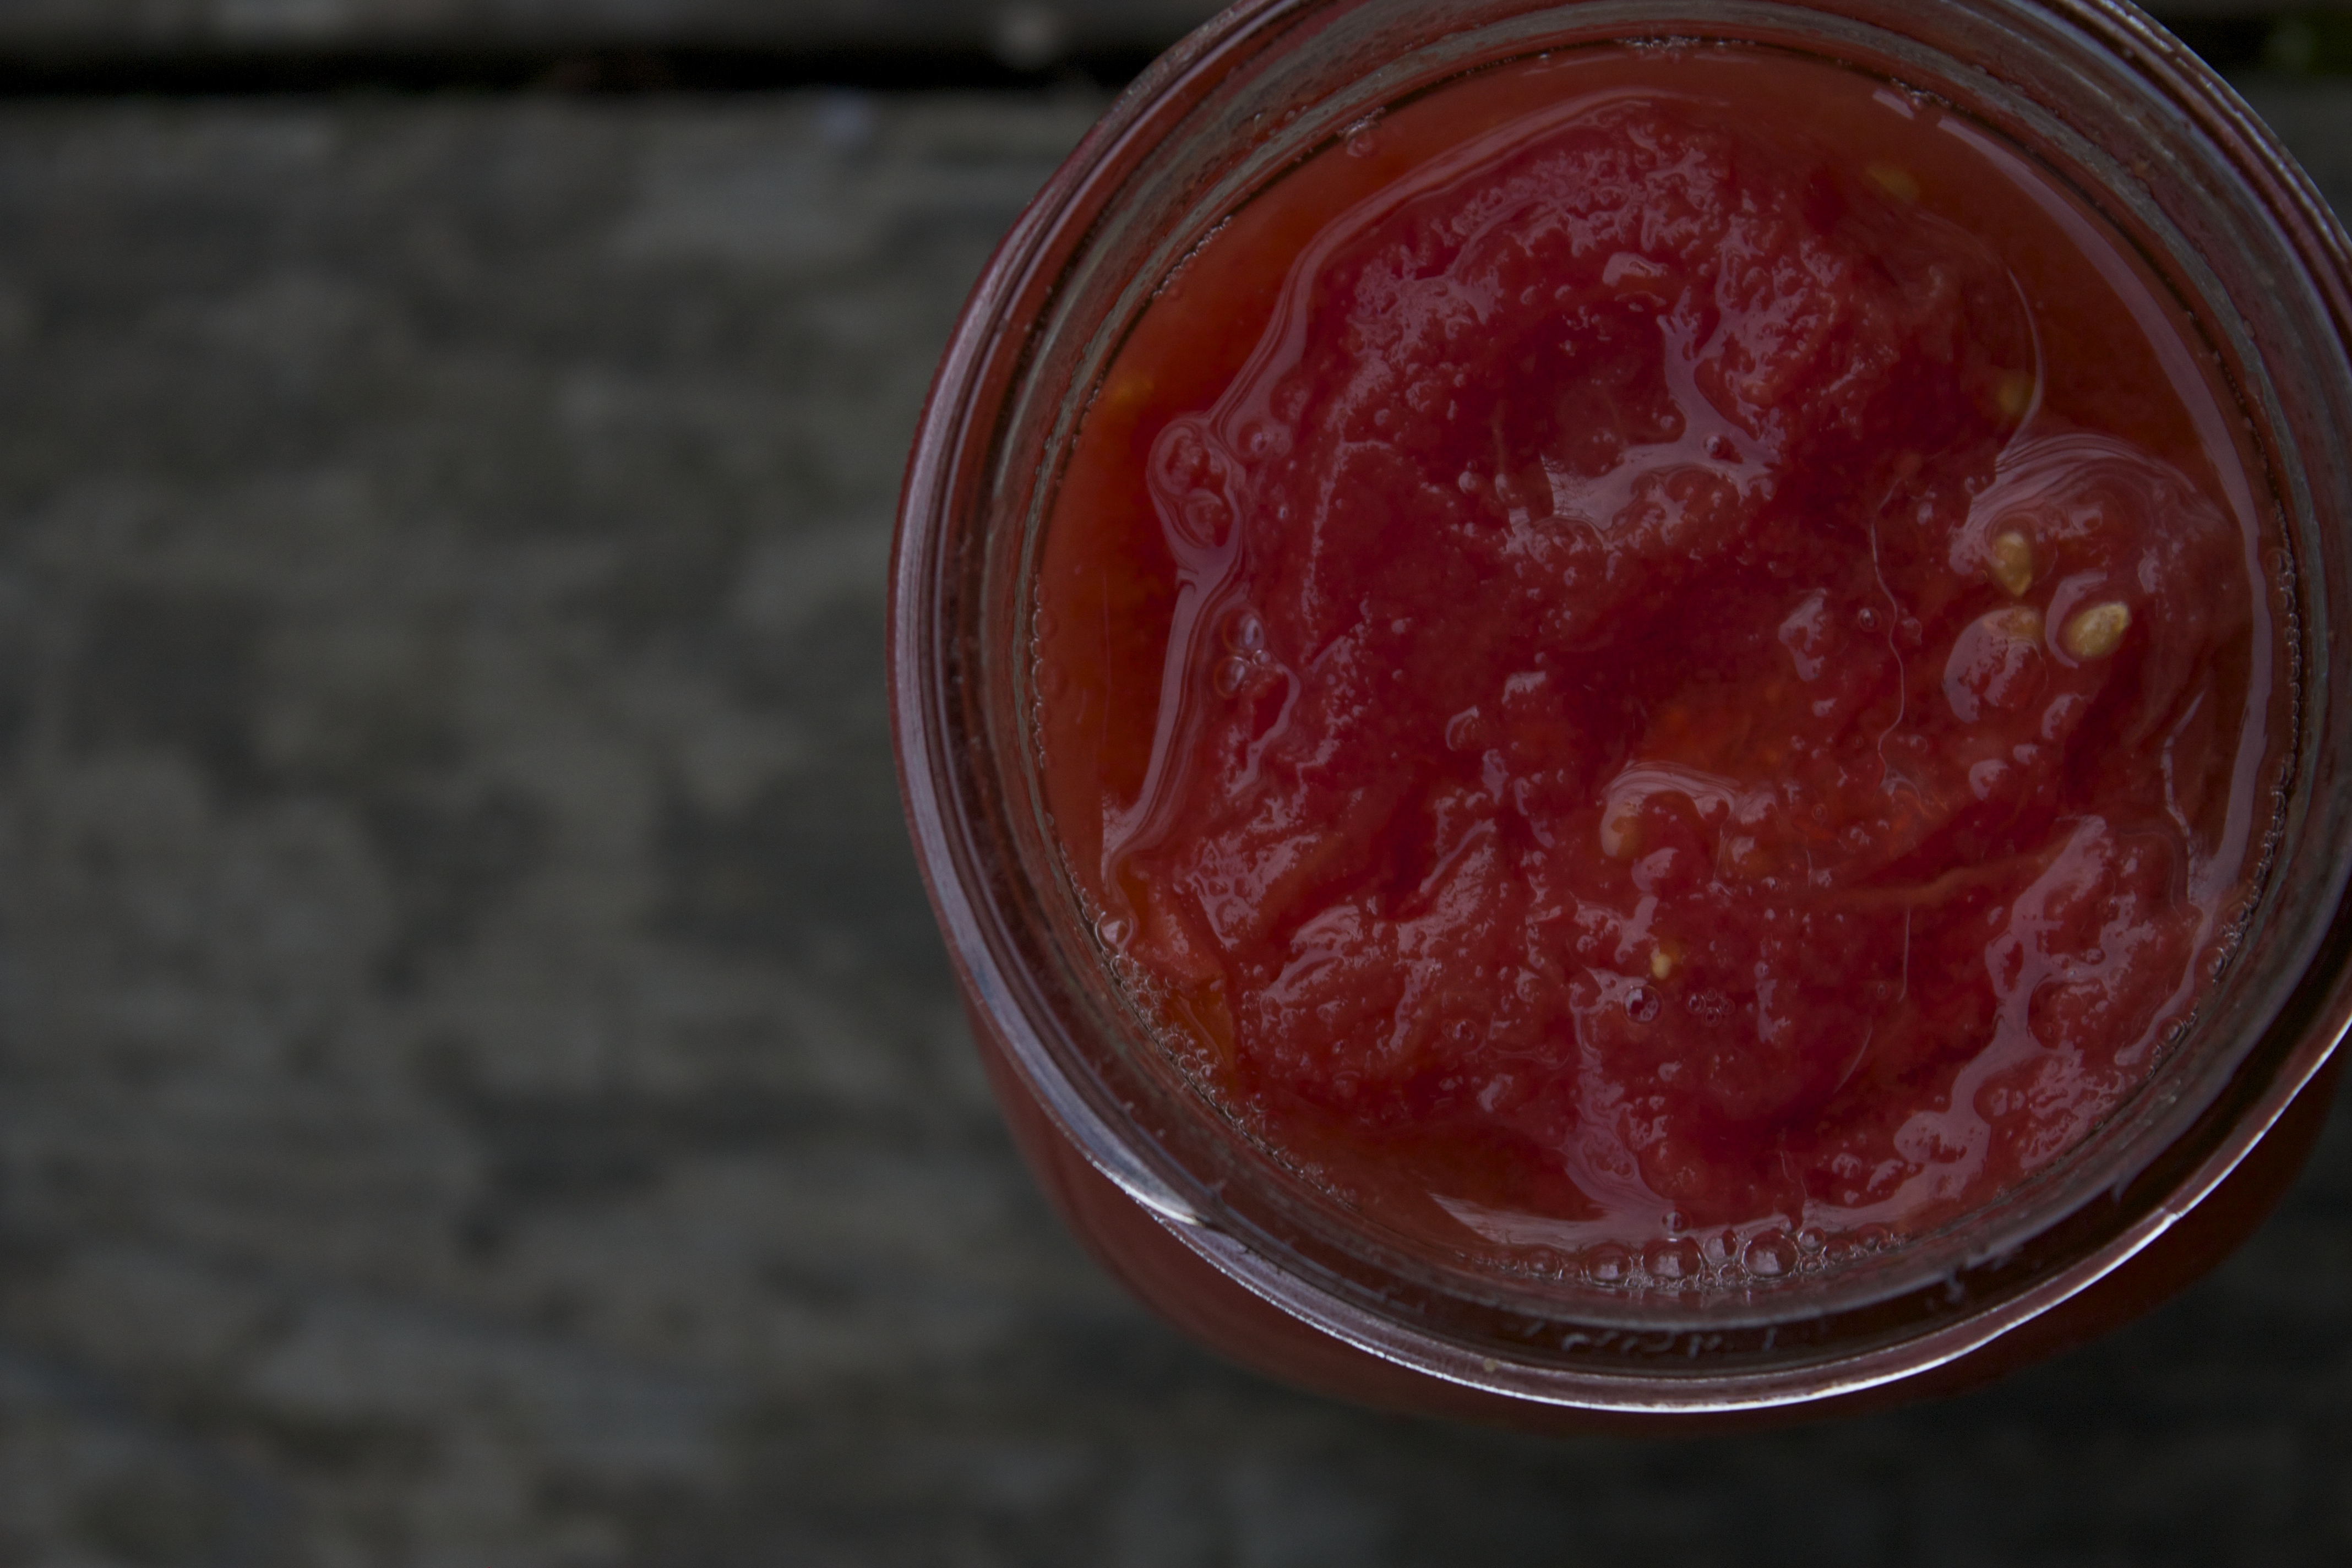
This jam is seriously the best; it captures the perfect taste of ripe strawberries because you don’t cook it into jelly. Now because of that, it needs to be stored not on a shelf but in the freezer or in the fridge. It stays beautifully pourable in the freezer too so don’t fret, at home we often take it from freezer to toaster and back and it needs no defrosting time. It’s truly the most beautiful thing I jar, jeweled; red and gleaming, “Summer in a Jar” to be sure!  Place a little piece of fabric on the lid before you screw on the jar ring and what a perfectly perfect hostess gift for all those summer parties and BBQs.

Summer in a Jar - Strawberry Freezer Jam Summer in a Jar - Strawberry Freezer Jampink vintage bowls make the world a better place Summer in a Jar - Strawberry Freezer Jam Summer in a Jar - Strawberry Freezer Jam Summer in a Jar - Strawberry Freezer JamSummer in a Jar - Strawberry Freezer JamSummer in a Jar - Strawberry Freezer Jam

Summer in a Jar - Strawberry Freezer Jam

Sure-Jell Certo Recipe

Makes about 4 cups Jam

You will need:

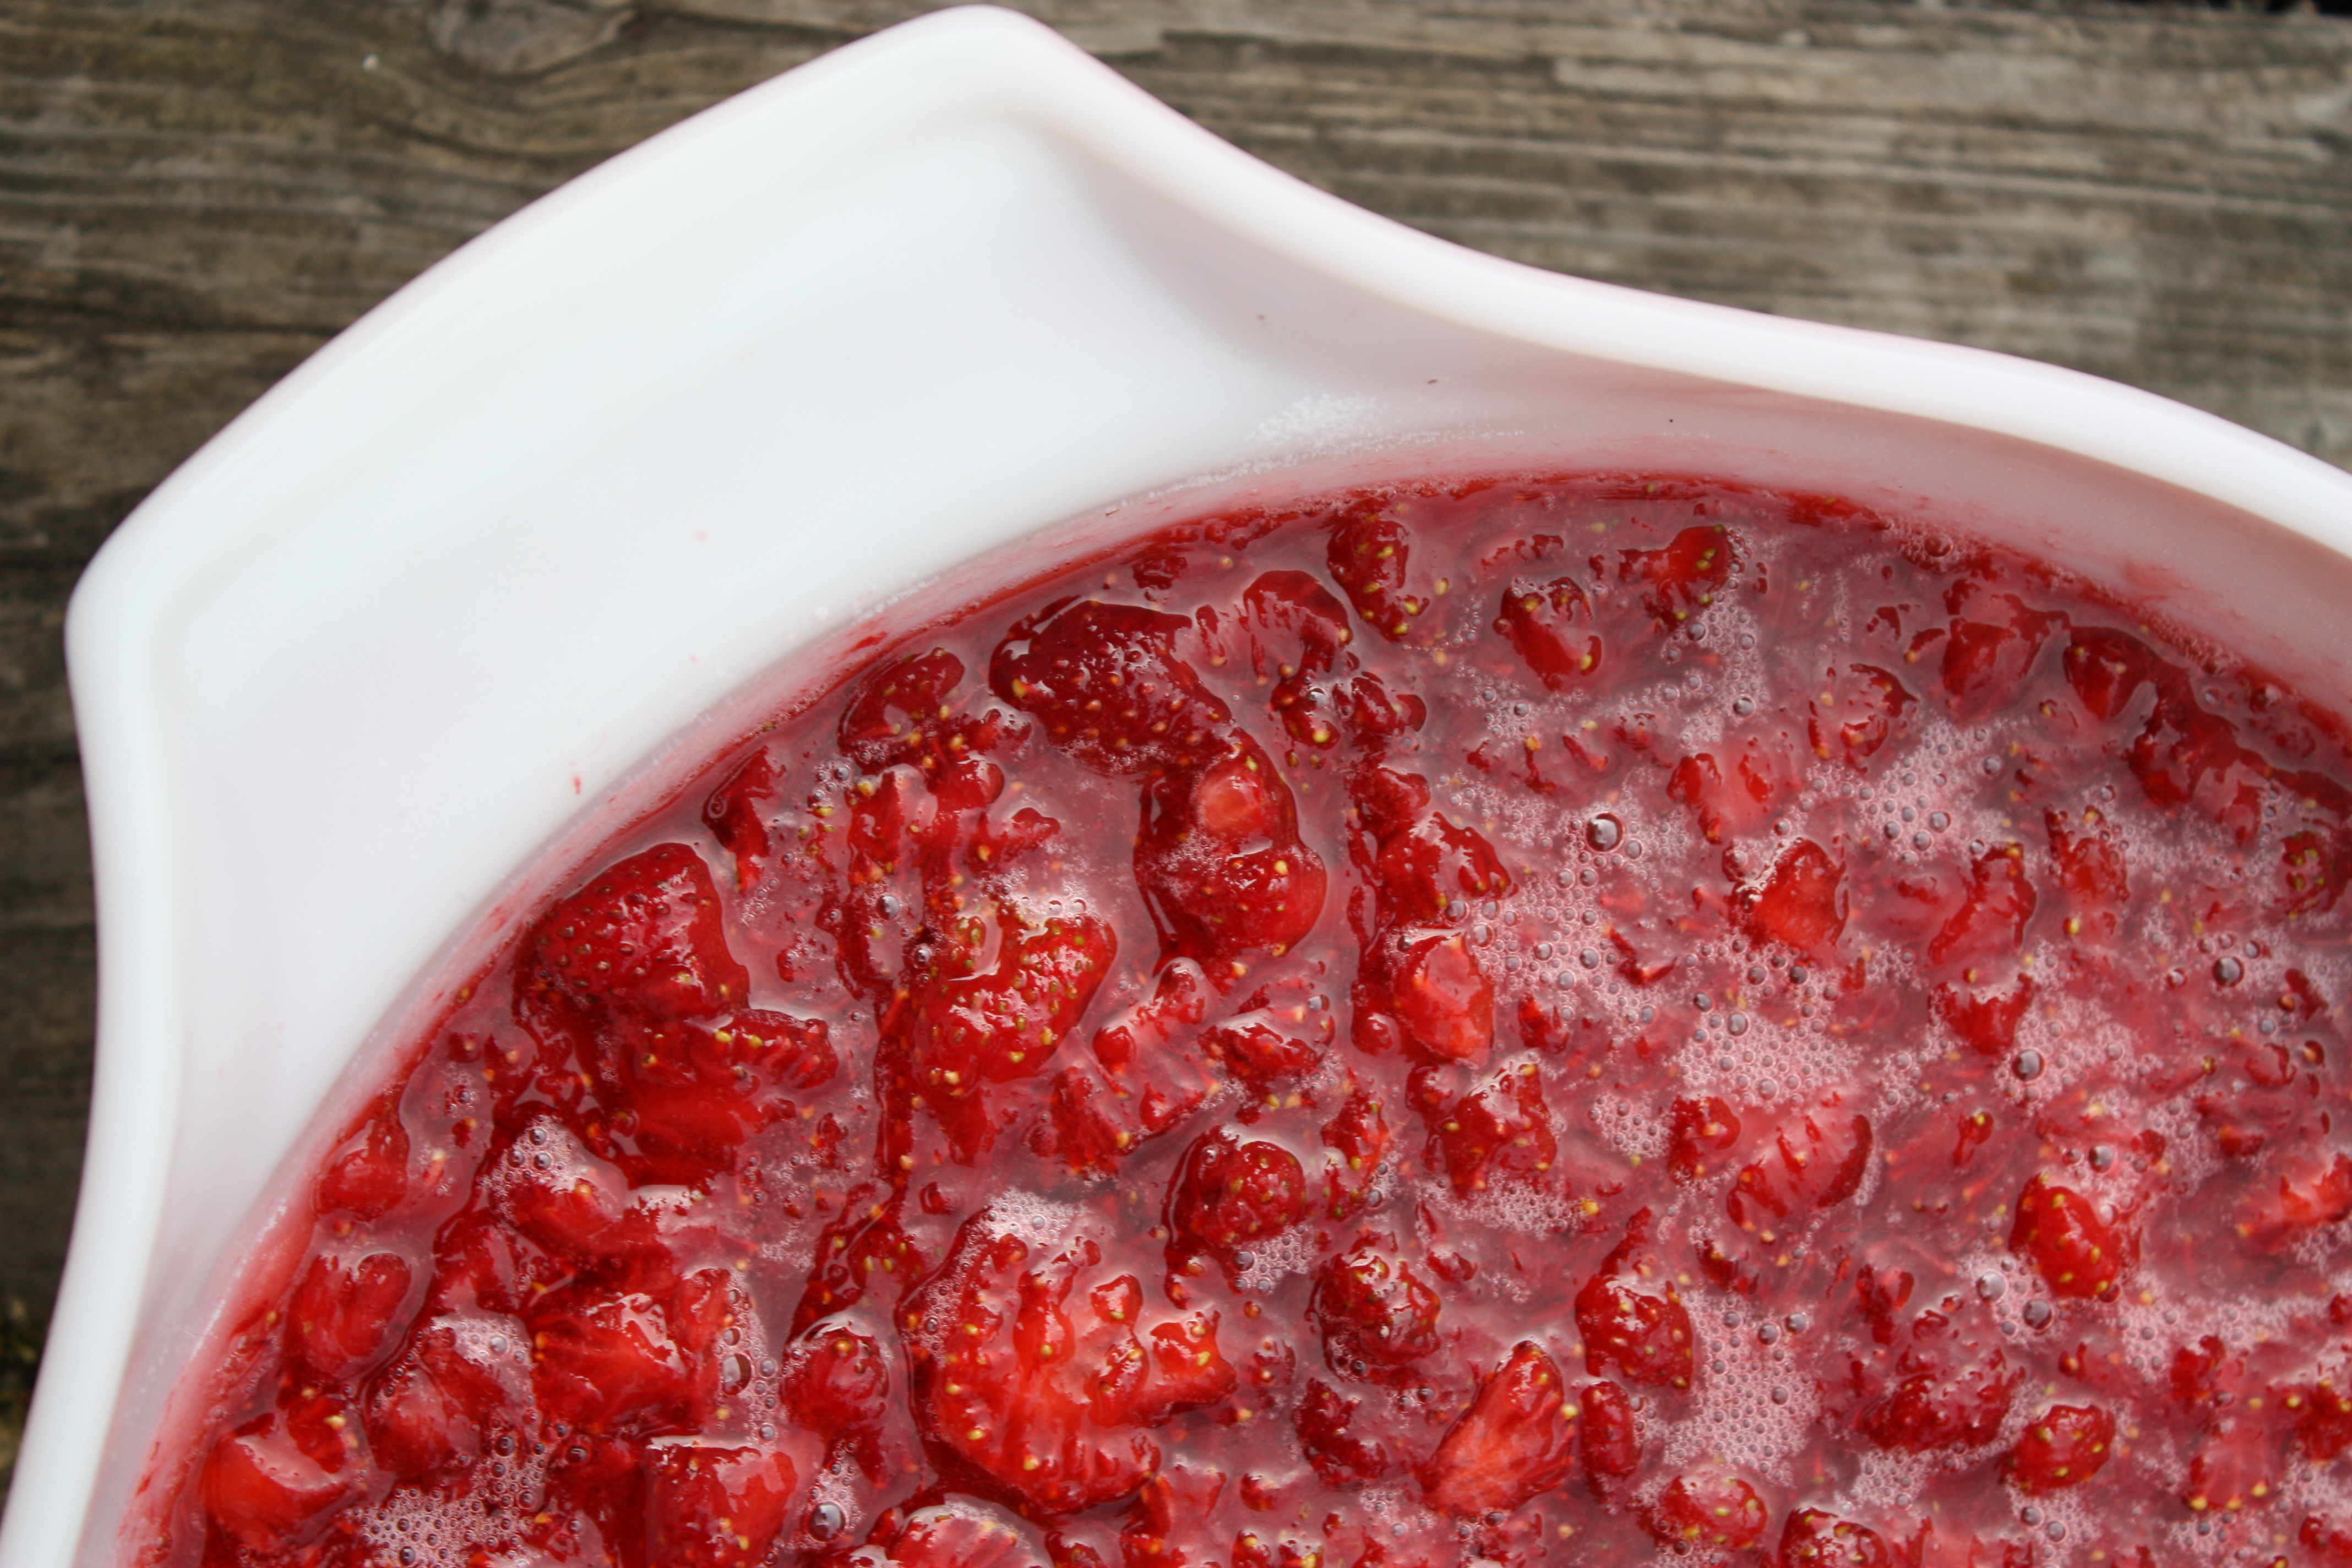
  • 2 pints strawberries, washed stems discarded and crushed
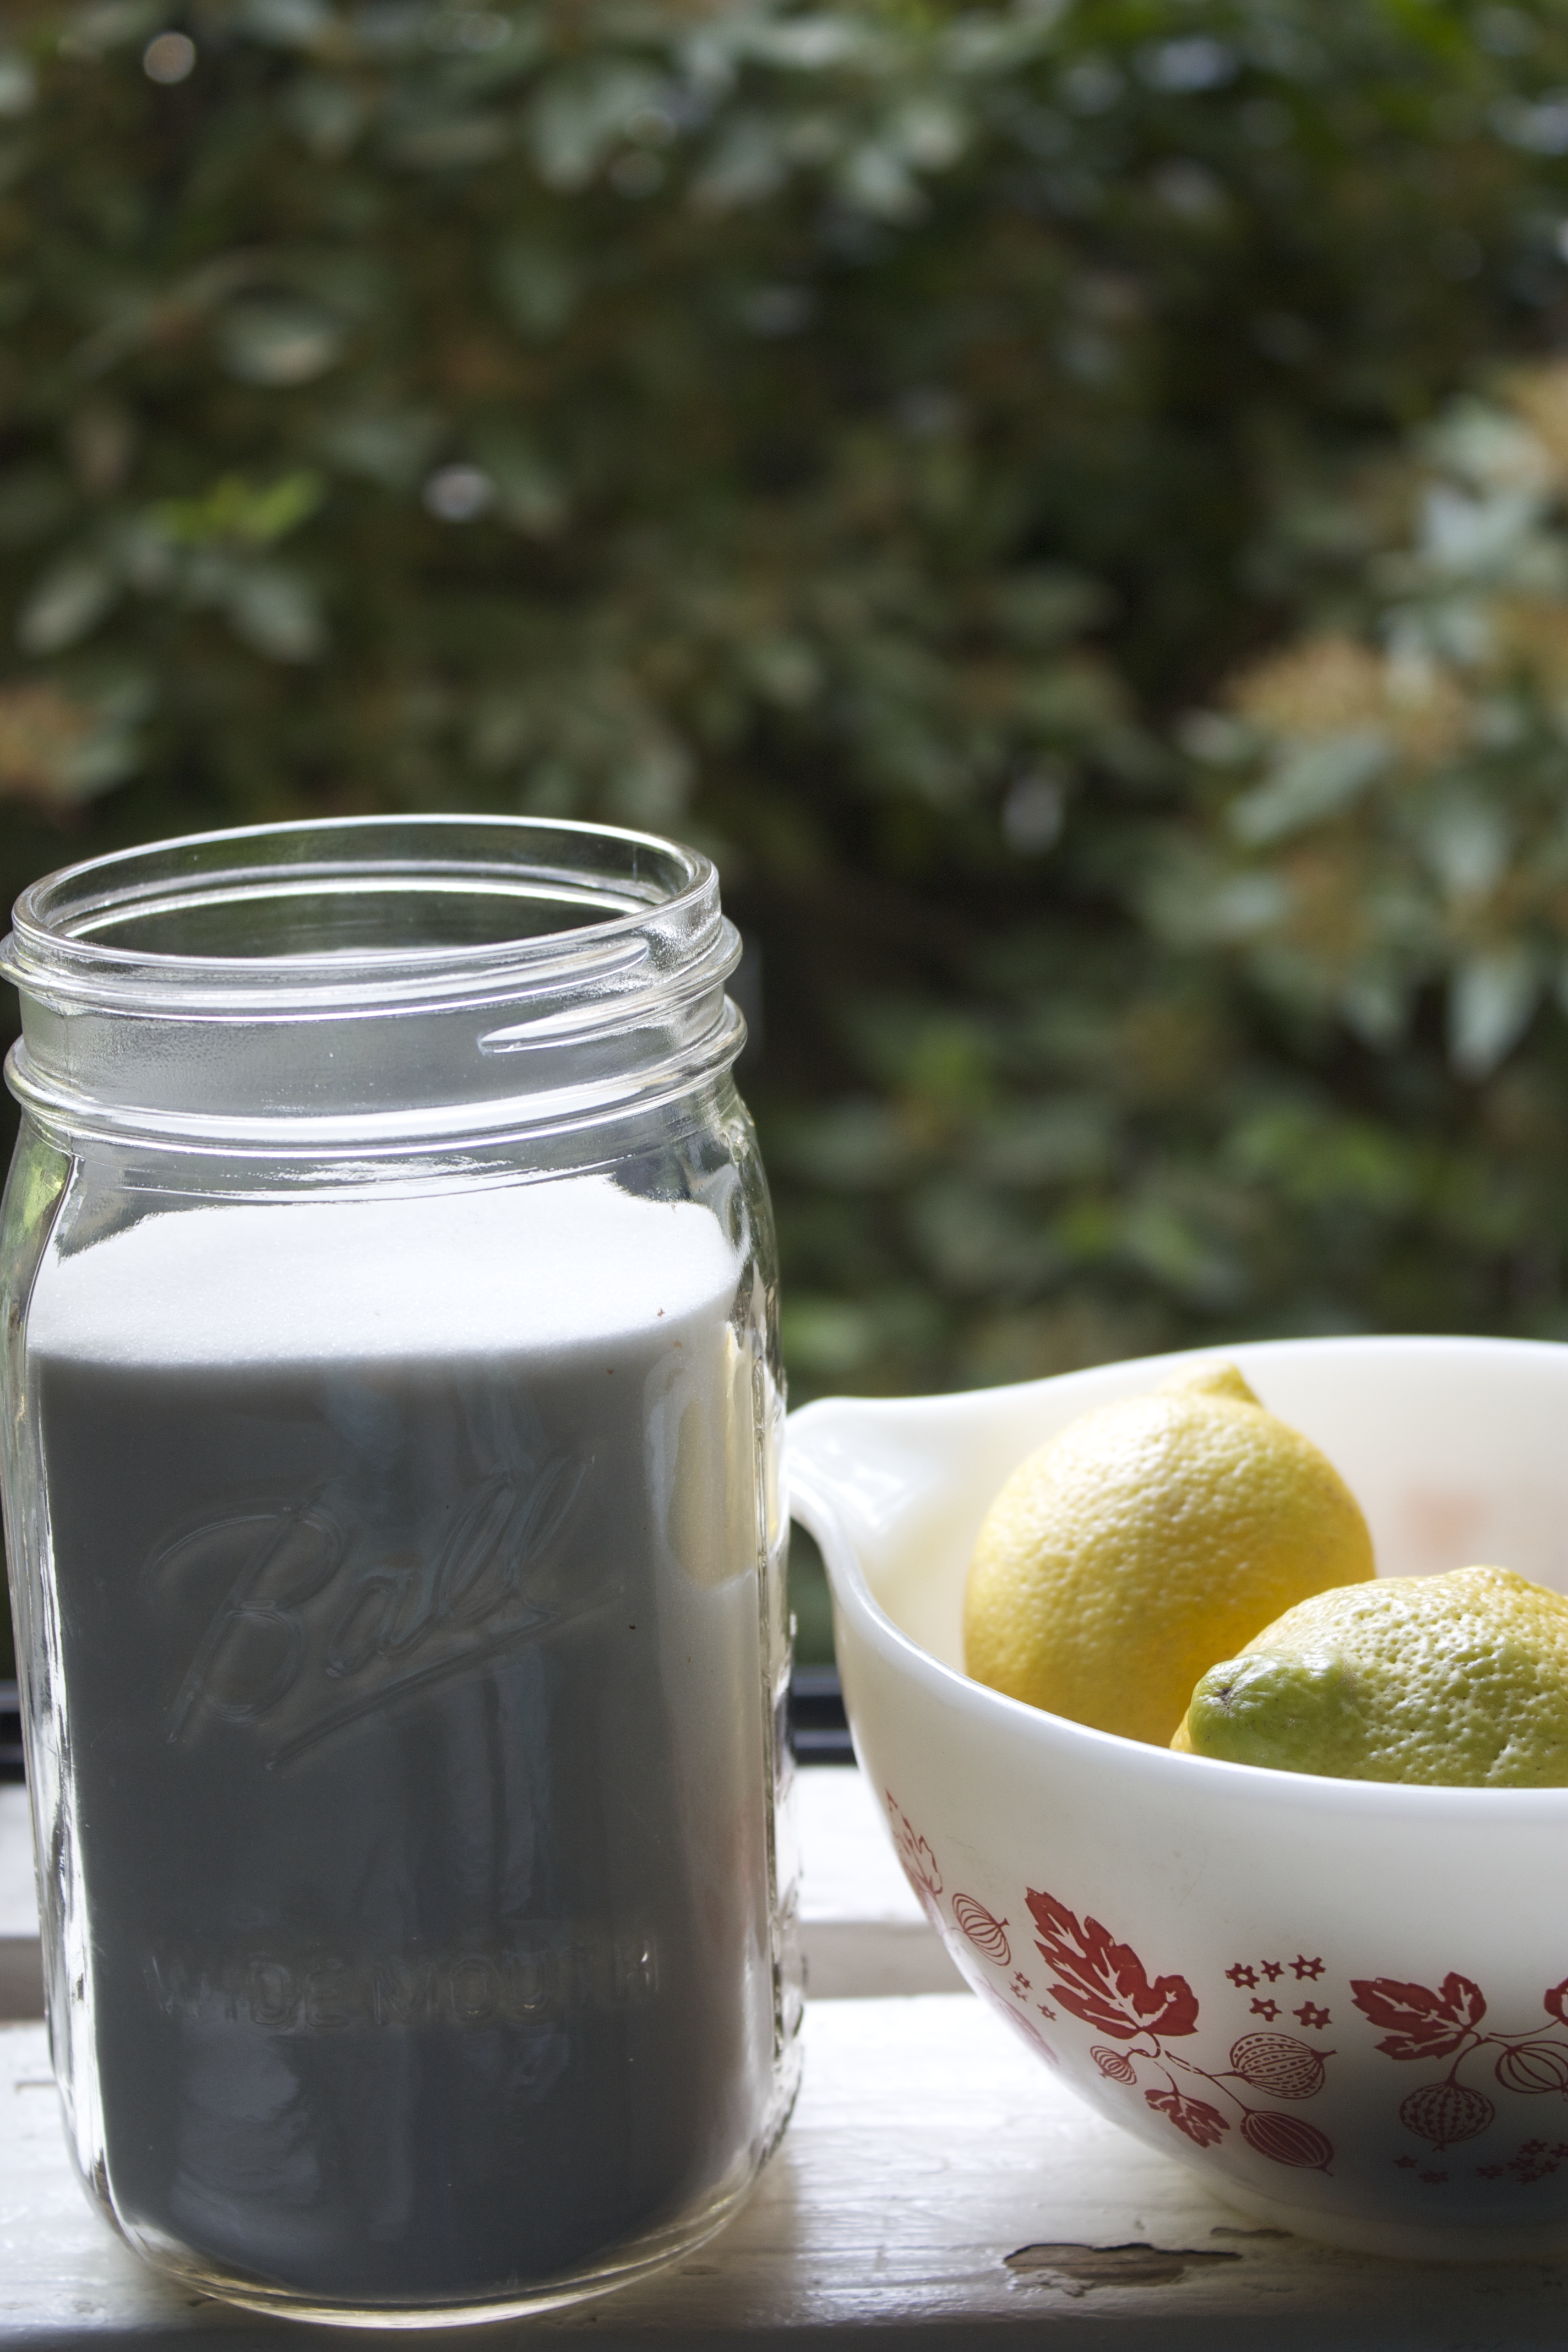
  • Juice of one lemon
  • 4 cups sugar
  • 1 pouch Certo
  • Sanitized and washed jars and lids – get fresh tops

How to:

  • Crush strawberries with a potato masher, leaving some fruit chucks
  • Spoon in 2 cups of strawberries to a bowl with 4 cups sugar
  • *Note: reducing sugar will yield no jam, (don’t jam up the process, use the sugar)
  • Allow sugar and strawberries to sit for 10 minutes, stirring occasionally
  • Then stir pectin and lemon together and add to fruit and sugar mixture
  • Mix constantly for 3 minutes or until the sugar has dissolved
  • Pour into prepared jars allowing a ½ inch of space at the top
  • Allow to sit at room temperature for 24 hours
  • Then refrigerate for up to 3 weeks or freeze for up to a year


It’s jammer time!

Marcella Rose

Summer in a Jar - Strawberry Freezer Jam

Green Garlic

Green Garlic - Roasted

Spring is finally here and boy, am I ready.  I mean, it’s still hailing and snowing and a bit chilly but there have been a few days of just splendid spring about.  With spring of course, comes the opening of the famers market.  This week I hardened my resolve and braved the Southern Oregon rains to get myself and my basket over to my local market. Nothing could stand in my way! I was on a mission… a mission for green garlic.   There are a few vegetables and fruits that are fleeting in each season, ones that grace us with their majestic beauty for only a few weeks at a time and then they are gone, green garlic is one of those vegetables. You see, we only get it for a moment because it grows into garlic! But right before the main bulb slits into many and the garlic we know and use year round starts to form, we get the special treat of the young mild green garlic.  You can use it in any recipe that calls for garlic and it will give just the whisper of garlic flavor to the dish.  But what I love is enjoying it in ways you don’t get to when it matures into garlic.

Today I am sharing two ways I like to enjoy this gem of early spring.  One is simple and divine, Roasted Green Garlic.  It has a mild and delicate flavor when roasted with just a splash of olive oil and sea salt and makes a divine side dish.  Or you can take a few more steps after roasting and process it into a most flavorful pesto.  The pesto can be eaten slathered on bread or spread over the meat or fish of your choice or tossed into al dente pasta…or just eat it with a spoon when no one is watching.  Any way you serve it, this pesto is sure to bring spring to your lips!

Green Garlic Green Garlic Green Garlic Green Garlic - Roasted Green Garlic - Roasted Green Garlic - Roasted Roasted Green Garlic Pesto Roasted Green Garlic Pesto Roasted Green Garlic Pesto

You will need:

For Roasted Green Garlic:

1 bunch green garlic

Olive Oil

Salt to taste

Split the green garlic in long halves and arrange on a baking sheet, toss with olive oil and broil for 4 minutes or until brown, serve or make pesto

For Green Garlic Pesto:

The juice of half a lime

¼ cup olive oil

¼ cup walnuts

¼ cup Parmesan cheese

Salt to taste

Add the above roasted garlic to the ingredients above and mix with a food processor until a thick paste forms.  Serve on toast, pasta, roasted meat or boiled fish.  Cover and store in the fridge for 5 days or freeze for up to 6 months.

Roasted Green Garlic Pesto

Toasting your green garlic roasting,

Marcella Rose

Shakshuka {Gluten Free}

shakshuka

You wake up, you’re tired. Well maybe you aren’t, but I am and I can’t be alone in this feeling…right readers?  On the weekends I often feel like getting up and making breakfast is just too much, can’t I just stay in bed and have Charles (the butler I wish I had) bring me breakfast in bed, Downton Abby style? I mean life is taxing and you are hitting it hard.  Between work, family, obligations, friends, the gym and the home, finding time to make a healthy meal can often feel like panning for gold in the Mississippi, i.e. almost impossible.  So you often fall back on your go-tos; you know, things you make all the time.  Go-tos are a great thing, but go-to them too much and you can get palate fatigue.  You’ve got to spice things up!  Do something different, look outside the box or look to Marcella Rose’s! Well, if Sunday breakfast has you bored, do I have a new breakfast dish for you.  Shakshuka.  It’s fun to say right? Shakshuka!  Well it’s even more fun to make and by fun I mean easy, like crazy easy. Plus it’s insanely delicious and you can probably make it right now with ingredients you already have on-hand.  Some recipes of this dish call for crusty bread which is amazing for scooping up the heavy caramelized sauce but if you’re gluten free it’s amazing by the spoonful or with warm corn tortillas.  Shakshuka recipes often call for feta or goat cheese but really any cheese you have on hand will do, you can make it simple with salt and pepper or you can add spices to take the flavor through the roof.  Again my recipe is below, but play around and make it your own! I always feel it best to break all the rules in the kitchen.  It’s the one safe place to do it right?  Your Le Creuset pan can’t really fire you now can it?  Your olive oil won’t give you a ticket now will it?  So have some fun, spice it up, shake it off, or rather Shakshuka it off, and trust me you will feel like jumping out of bed to make this breakfast.

good morning eggs a blend of parsley, fennel, garlic, sweet paprika, and other spices shakshuka Canned Tomatoes

You will need

  • 3-5 cloves minced garlic – depending on how Italian you are…if you are Sicilian add some more
  • 1 onion diced
  • 3 glugs olive oil
  • 1 quart jar of stewed tomatoes (plus the juice)
  • 5 eggs – or more if you have a bigger pan or more mouths to feed
  • Feta (optional)
  • Flat leaf parsley chopped – about 3 tablespoons (optional)
  • Salt and pepper to taste
  • Spices – I used a middle eastern blend of a  parsley, fennel, garlic, sweet paprika and other spices

How to

  • Heat a pan over medium high heat and add olive oil
  • Sauté your onion until translucent; about 4 minutes
  • Add garlic, stirring to avoid it burning, until fragrant; about 1 minute
  • Dump in tomatoes and juice, smashing the tomatoes with the back of a wooden spoon
  • Add spices (if using), salt and pepper then stir to incorporate
  • Allow the mixture to simmer until the juice cooks down and you have a thick sauce; about 5 minutes
  • Crack your eggs directly into the tomato mixture and cover with a lid
  • Cook eggs until yolks are soft but still runny; about 3 minutes
  • Top with cheese and parsley
  • Dig in

IMG_7050shakshuka shakshuka

Shakshuka for everyone!

Marcella Rose

shakshuka

Butternut Squash Soup

Butternut Squash Soup

Nothing makes me happier than blog requests.  I think it’s for the same reason I love to cook and feed people; I love taking the time and thinking about the delight and pleasure my guests will get out of the meal that I am preparing.  It’s my truest expression of love, with each turn of the spatula, each kneed of the dough, each slice of the knife, I am thinking of who I am preparing the meal for.  How to cater to their tastes, how to make them smile, to nourish not just the body but the soul and the spirit and with this act of love, I in turn, am nourishing my own self as well; feeling full not just from the meal but of love and gratitude for being able to give the gift of food to friends and readers.  Really it’s a win-win and then, a great meal too! So when a reader or a friend requests a recipe, I can’t wait to take the time to blog it.  My co-worker and friend Ellie, has been patiently awaiting this recipe after a party at my home.  I was worried I wouldn’t have enough food for the crowd that was about to descend upon the house so at the last minute I took stock of my pantry and saw that I had all the makings of Butternut Squash Soup.  Then one- two- three, soup’s on!  This recipe is simple but oh-so filling. It shines as a first course but has enough oomph to stand alone as a main dish and is perfect for those gluten free and vegetarian guests and loved ones.

Butternut squash is incredibly versatile.  The creamy texture works great in many dishes but it reaches its full potential in soup form.  It’s so velvety and dense; it doesn’t need a lot of work or added thickeners.    You can make Butternut Squash Soup with just the squash and onion but I love to add in tart, crisp apples and a sweet potato.  I feel these two extra ingredients take this recipe to the next level of yum.  Fresh herbs make everything better so try not to use dried sage if you can help it but in a pinch it will do.  With simple recipes, the quality of the ingredients is even more important.  Finally, whenever I make a soup, be it a broth based soup like chicken noodle or a creamy soup like this one, I always, always sauté my ingredients, it pulls out the flavors and it makes all the difference in the world.  So take the time to brown your veggies before you add broth and simmer them down. You will be left with a soup that you will make you want to lick the bowl when you’re finished.

All the making of a fine pot of soup

butternut squashperfectly easy to peel sage beautiful sagele creuset full of soupButternut Squash soup

You will need:

  • 1 butternut squash, cubed*
  • 1 bunch of sage minced
  • 2 apples cubed
  • 1 onion minced
  • 1 Sweet potato cubed
  • 2 cups chicken or vegetable broth**
  • ¼ cup butter
  • ¼ cup cream or half and half (optional)
  • Salt and Pepper to taste

How to:

  • Heat butter in pan and add onion, cooking for 3 minutes or until translucent
  • Add squash (reserving 1 cup of cubed squash), potato, apples, and sage and sauté for 10 minutes
  • Add broth and bring to a boil, then turn heat down and simmer until vegetables are soft
  • Pour chunky soup into blender and puree
  • Pour pureed soup back into pot and add reserved cubes, simmering until reserved cubes are al dente
  • Add salt and pepper to taste and cream if desired
  • Serve

*How to prep your butternut squash:  Slice in half and remove seeds; with the flesh side down, use a peeler to remove the skin and then slice into cubes.

** For Marcella Rose’s simple chicken broth recipe click here

Soup’s on,

Marcella Rose

Butternut Squash Soup

Quick Pickled Vegetables

Quick Pickled Vegetables

Thank goodness for my friends. Really and truly, I get so much inspiration for my blog Marcella Rose’s from the fantastic meals and moments I spend with my girlfriends. It’s been hard for me since I moved away from New York and the strong group of fabulous women that I was lucky enough to call my friends.  I have been on the search since arriving in Southern Oregon and recently met yet another amazing woman.  We had dinner at her place a few weeks ago and she made spiced chicken on the bone, seared and then baked on top of cinnamon rice with loads of fresh chopped herbs, a stunning raw beet salad with fresh cracked walnuts, and baby spring greens; it was like heaven. Just what you are craving on these cold winter evenings; all spicy, hearty, and warm, full of root vegetables and baby greens, grown in warm greenhouses through the long winter months. To start, she had laid out some stunning cheeses and some quick pickled carrots. I love setting my table in the summer months with quick-pickled veggies for a fresh crunchy addition to picnics and barbeques alike but had never thought about quick-pickling root veggies in the winter months. It’s genius!

For the full blog and recipe visit My Cooking Spot! 

Quick Pickled Vegetables Quick Pickled Vegetables
Quick Pickled Vegetables
Quick Pickled Vegetables Quick Pickled Vegetables

Happy pickling!

Marcella RoseQuick Pickled Vegetables

Enter your email address to subscribe to this blog and receive notifications of new posts by email.

Join 775 other subscribers